Step ladder
My second project at the woodworking course is a step ladder. I got to use the same principles I used for my stool, but next level.
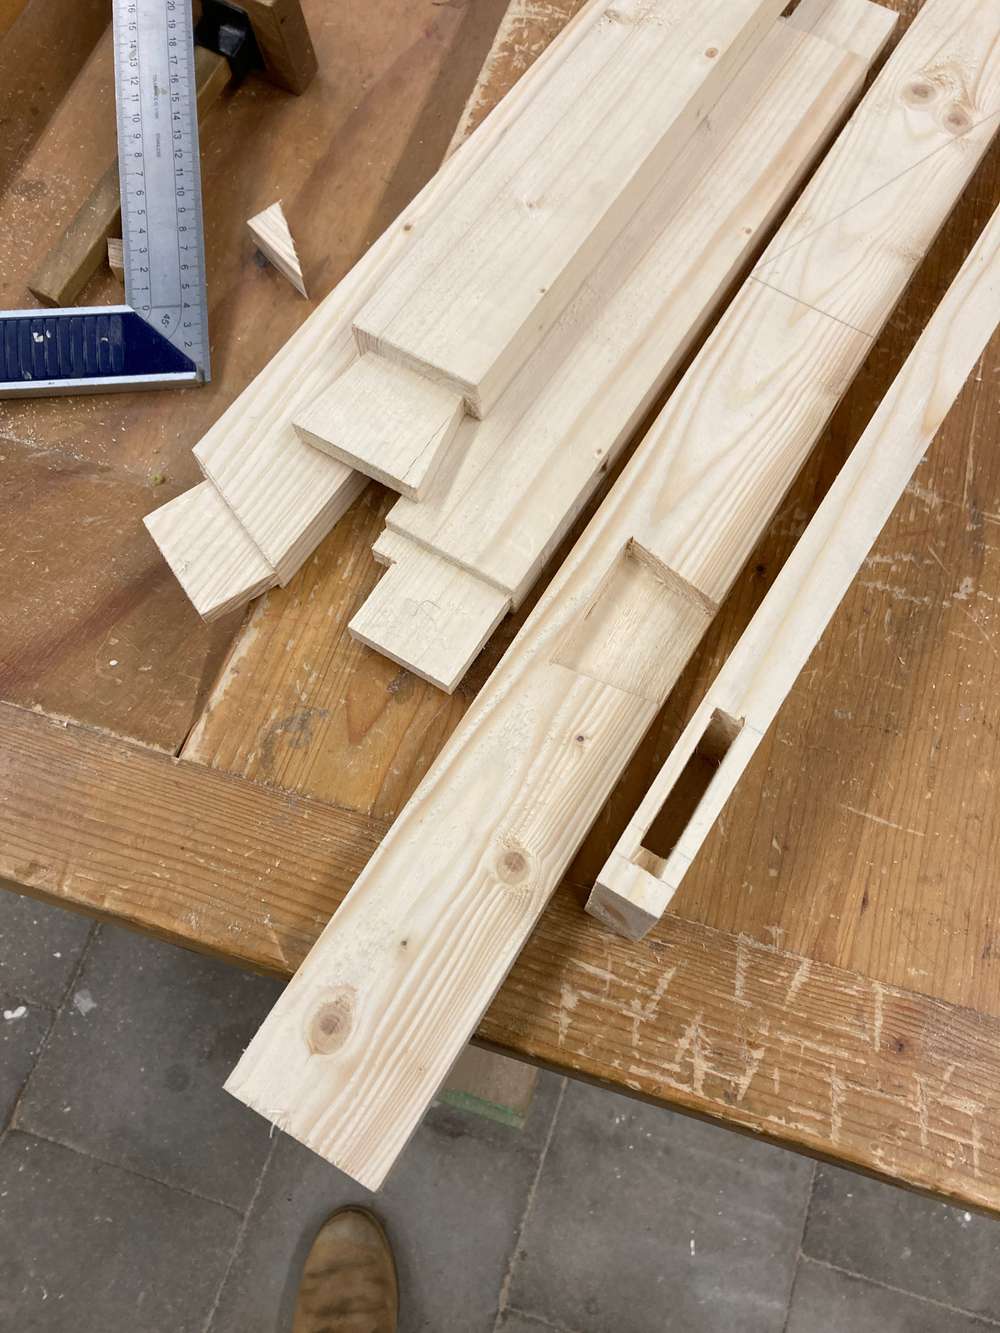
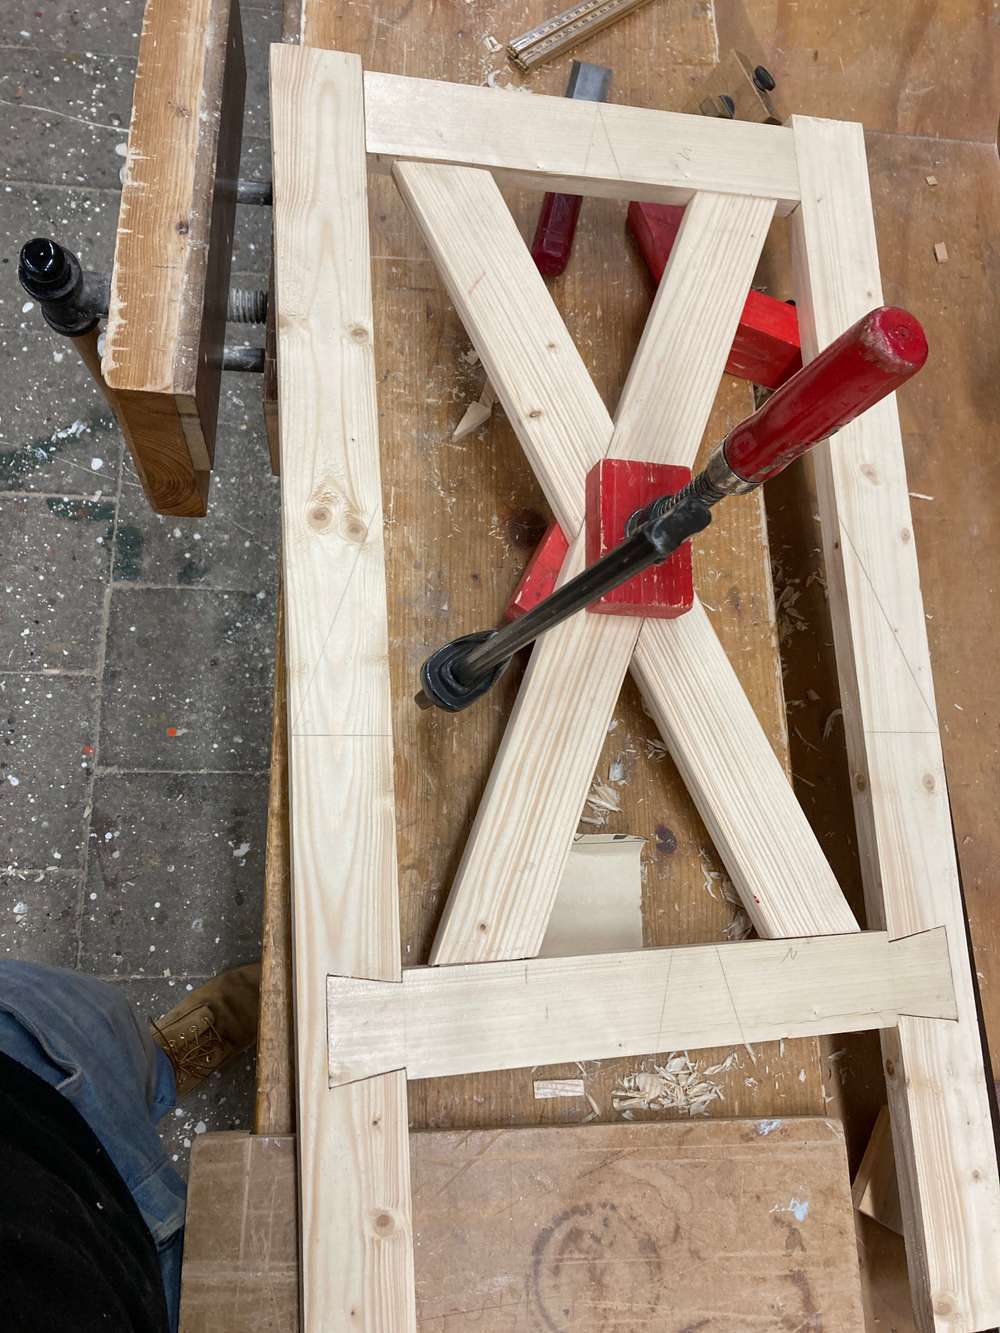
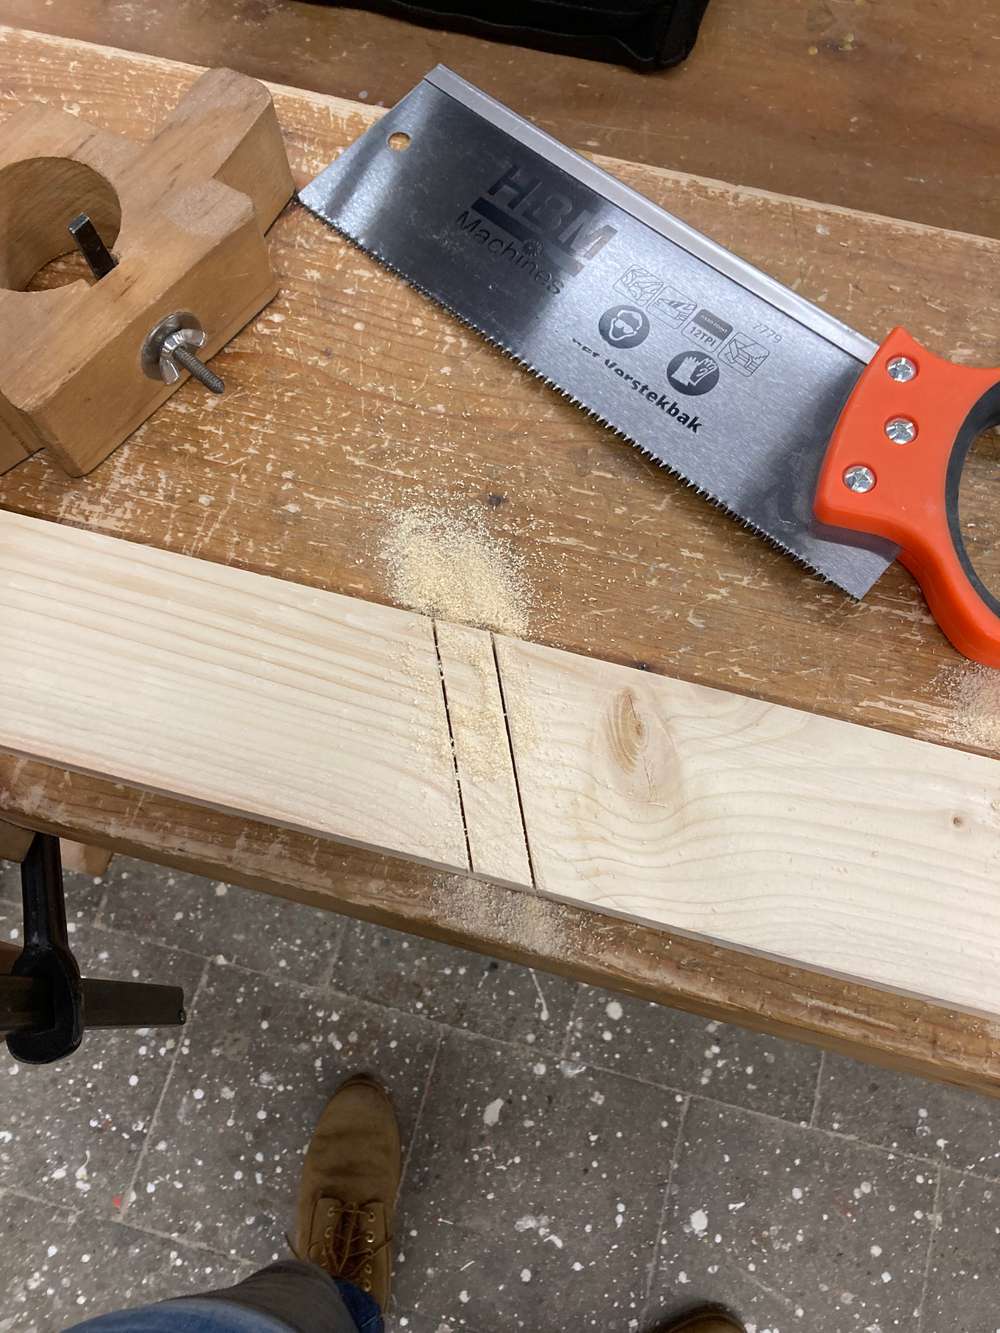
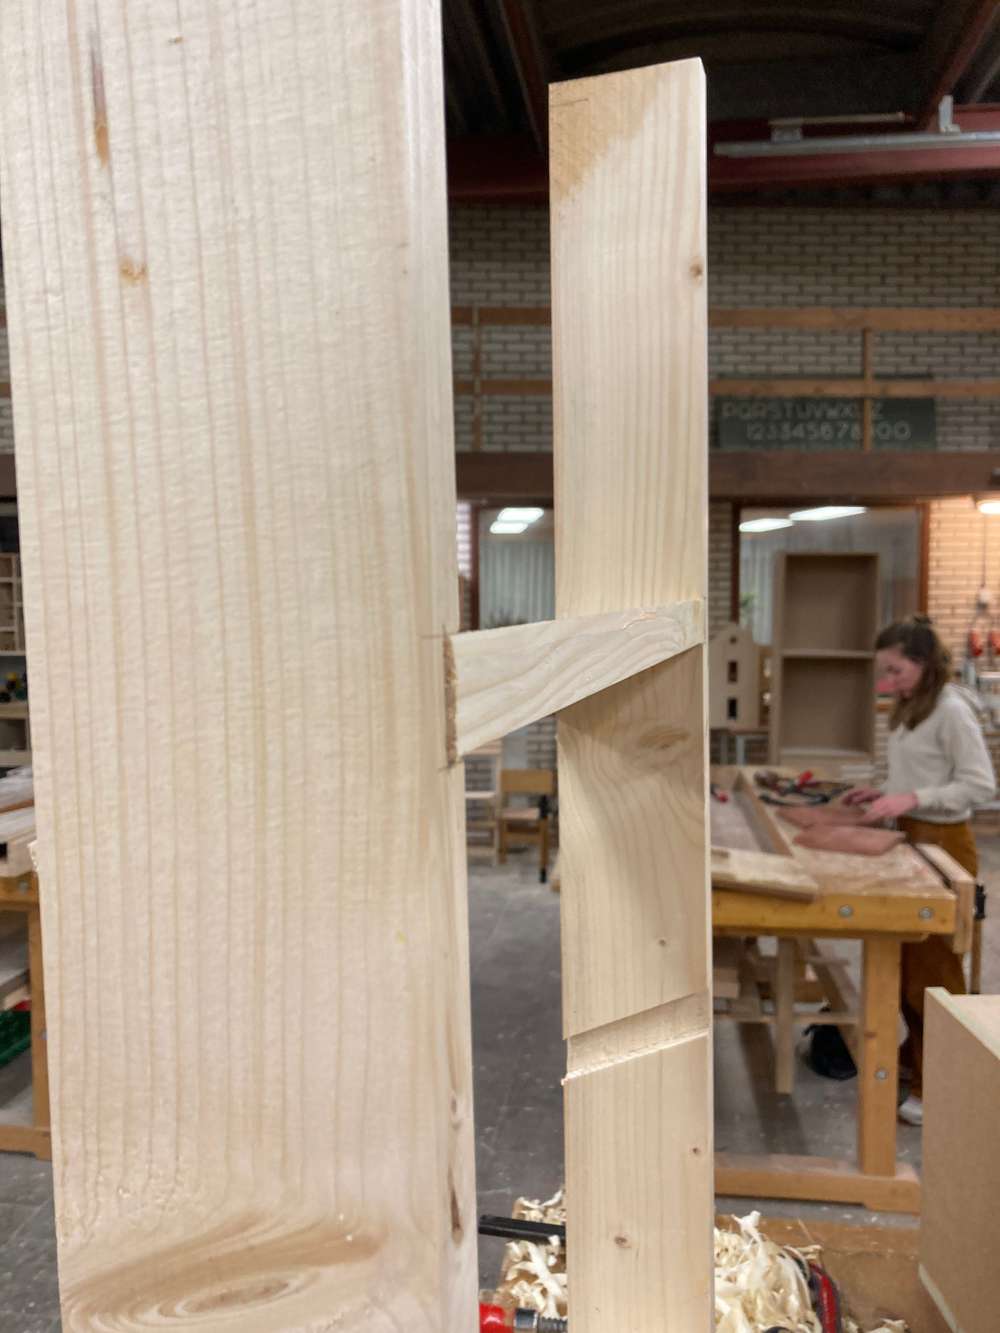
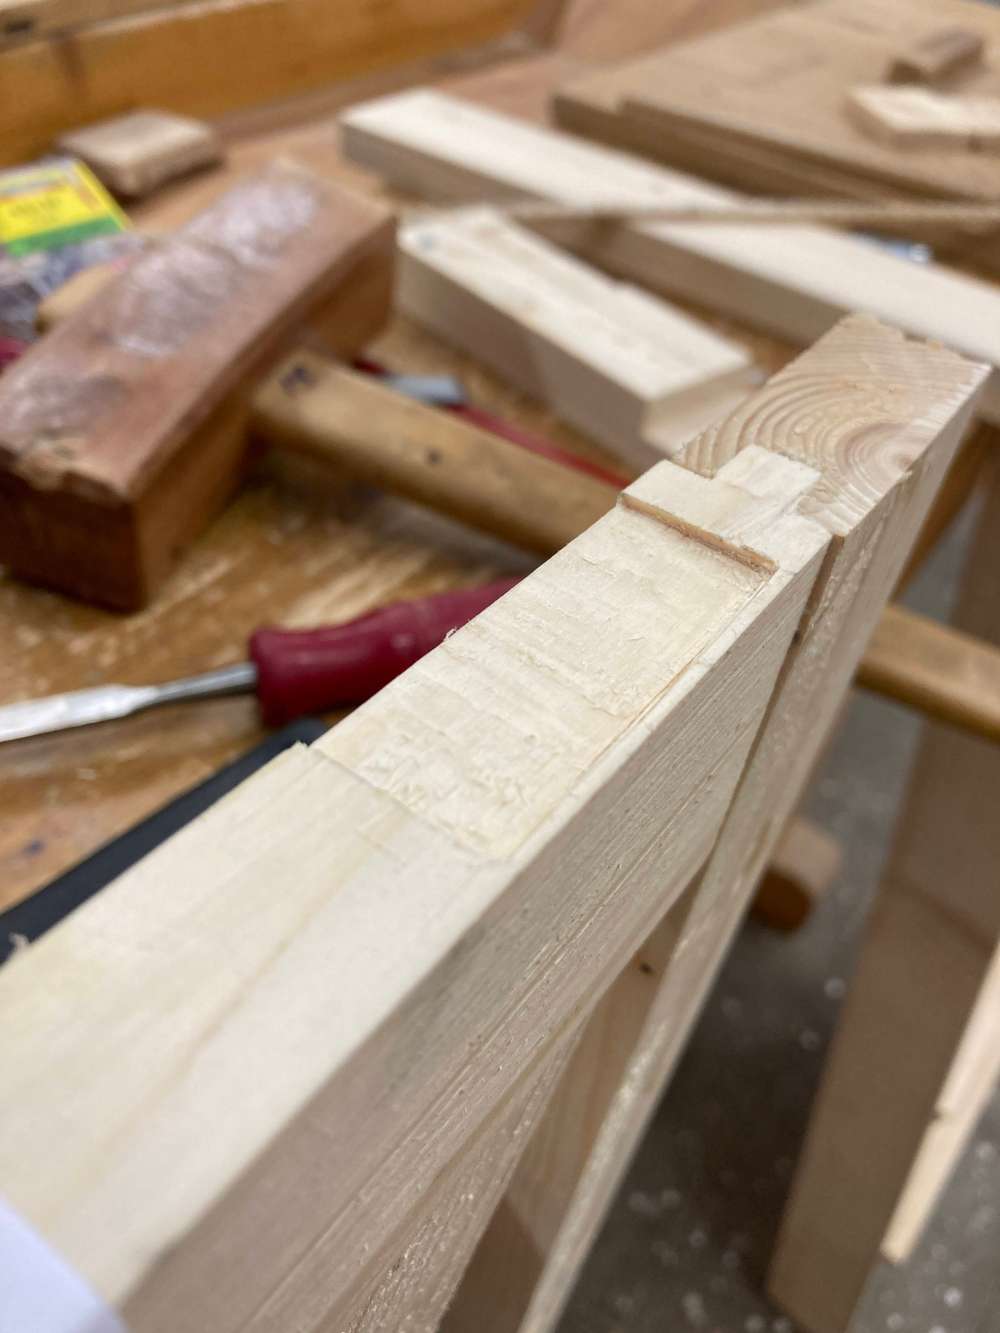
I started with the back frame. It consists of mortise and tenon joints and cross lab dovetails.
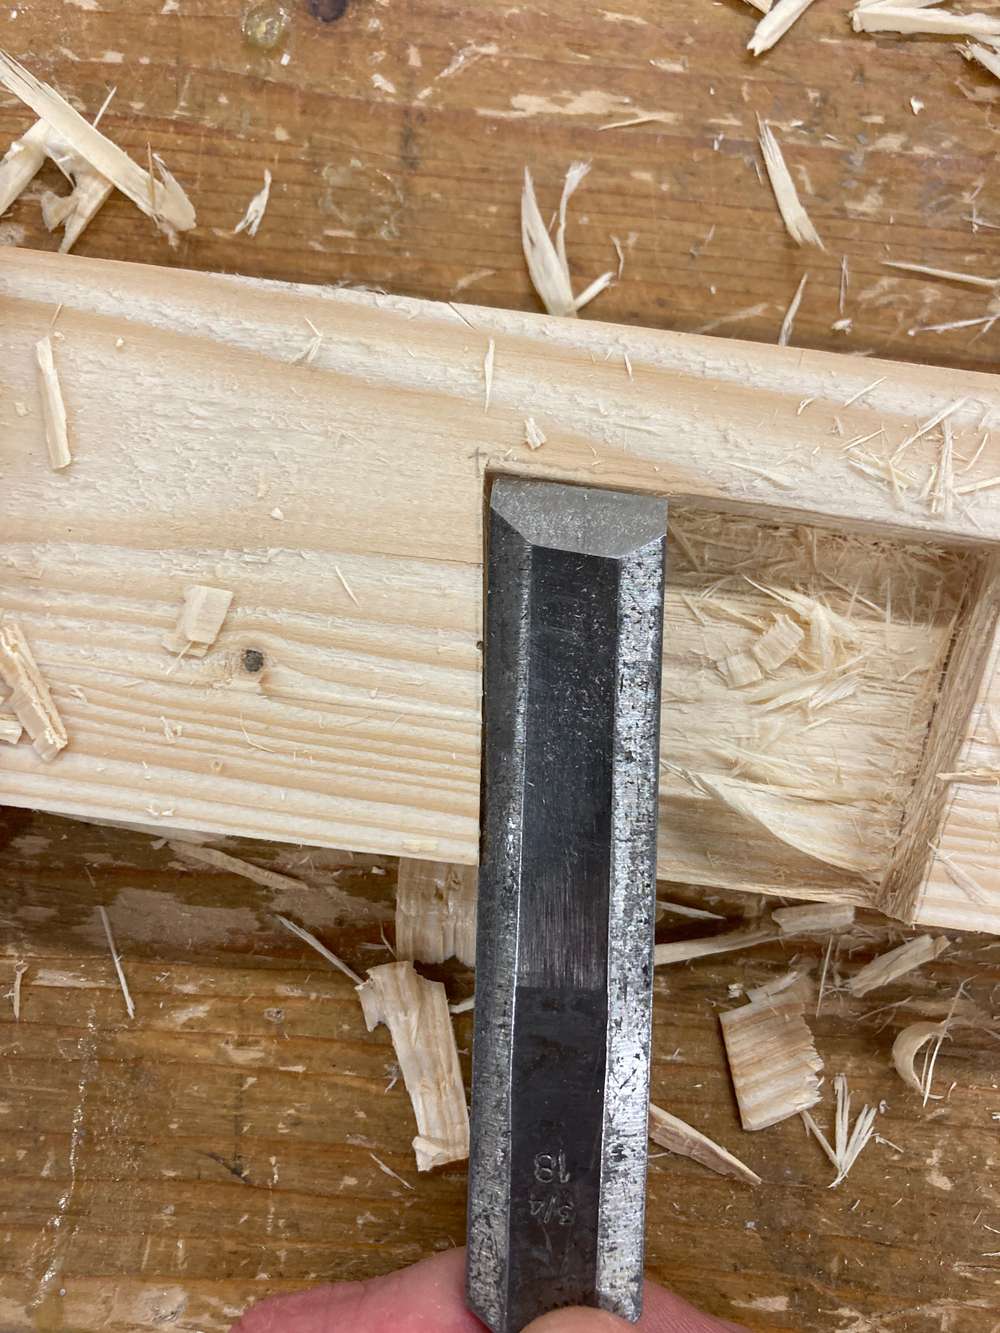
The dovetails were new for me. We have a few chisels that are grinded in exact 10 degree angles. This was a lot of fun.
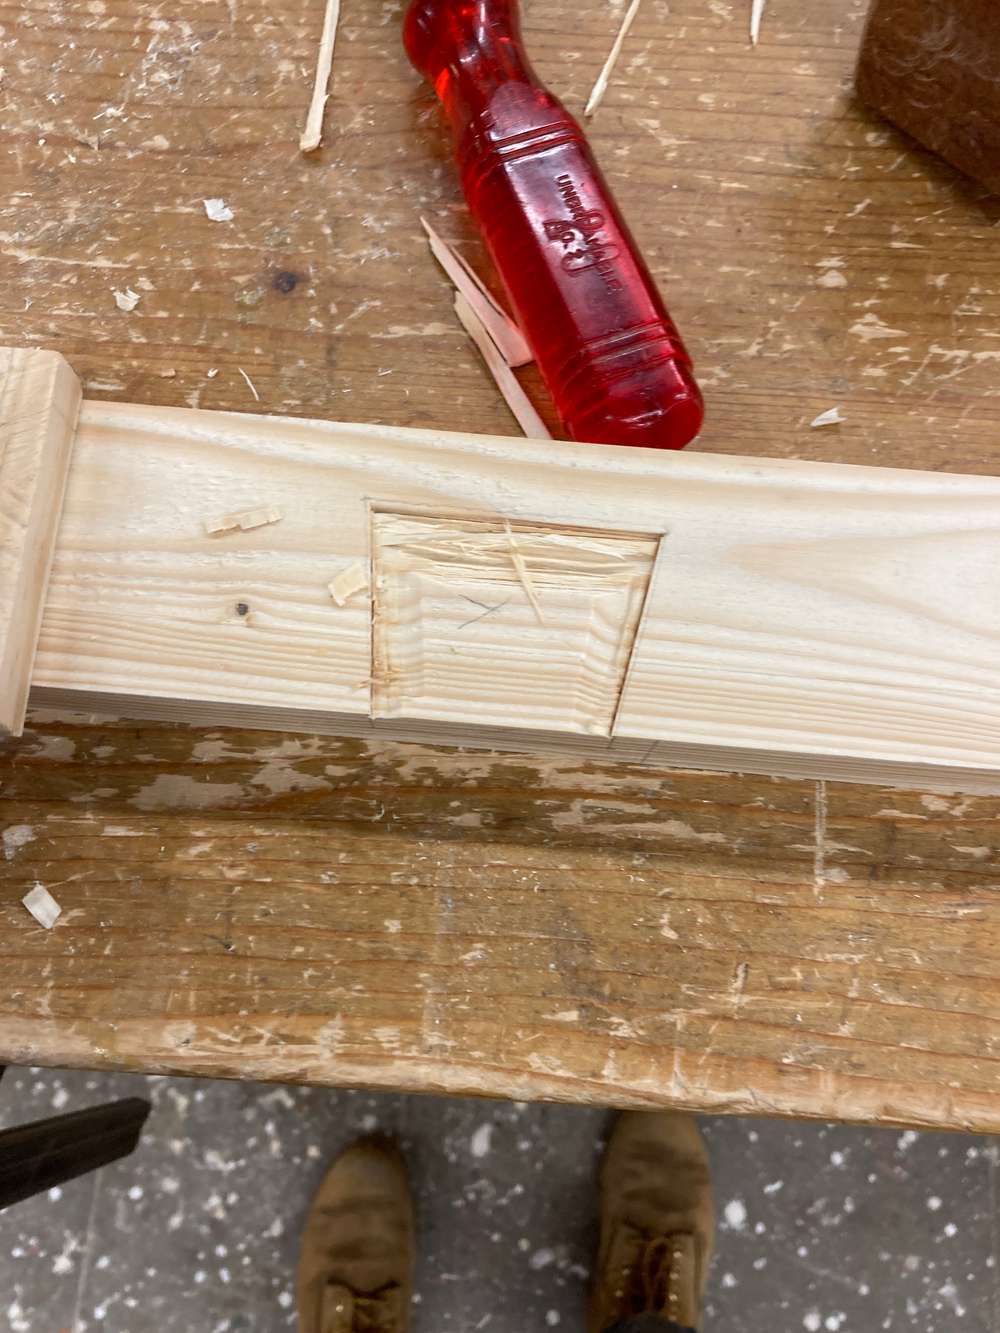
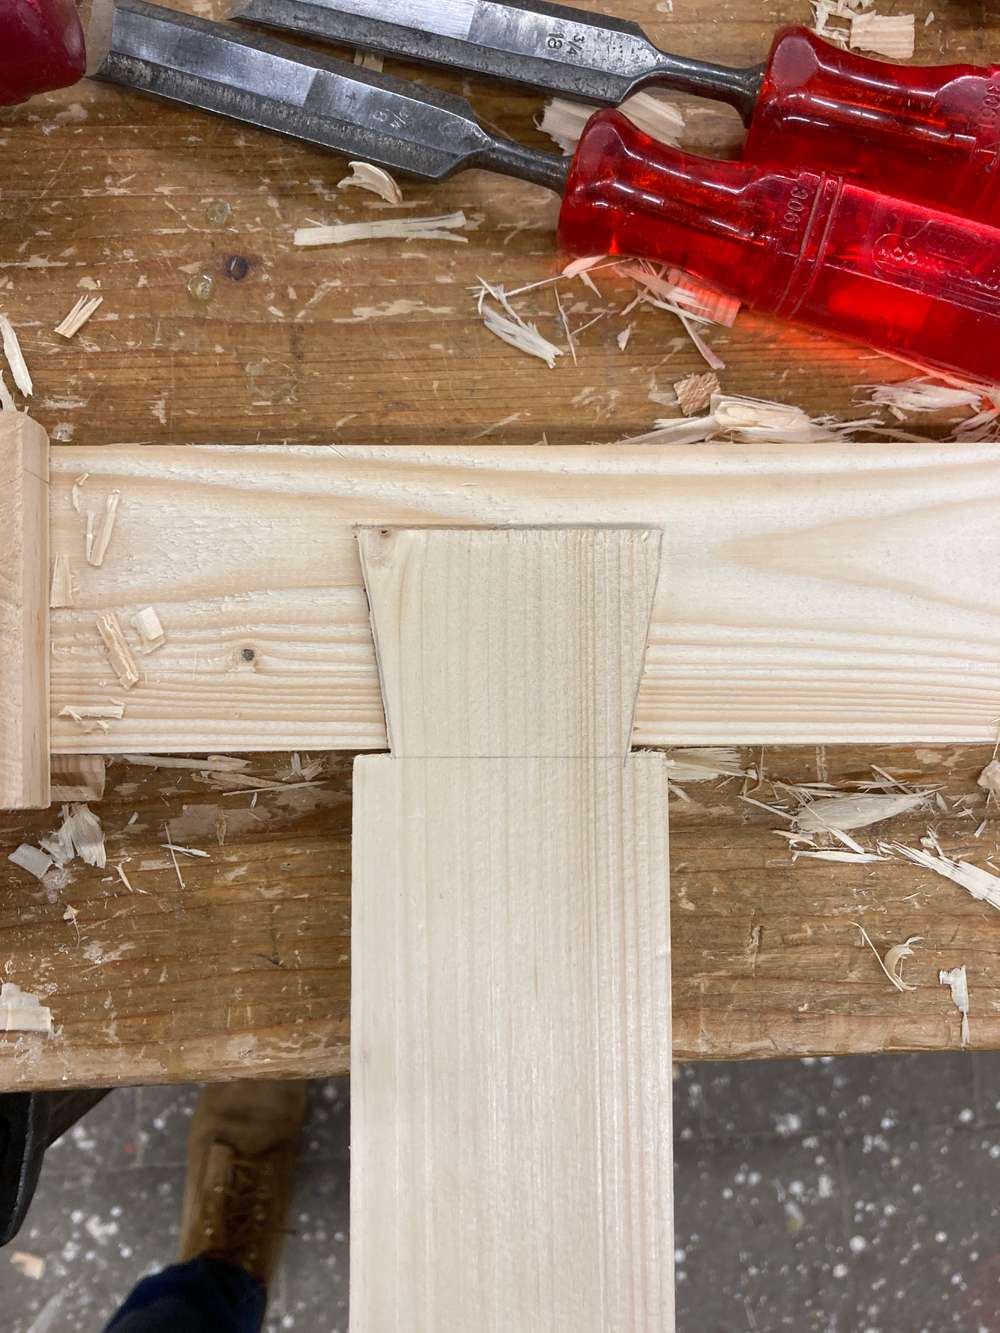
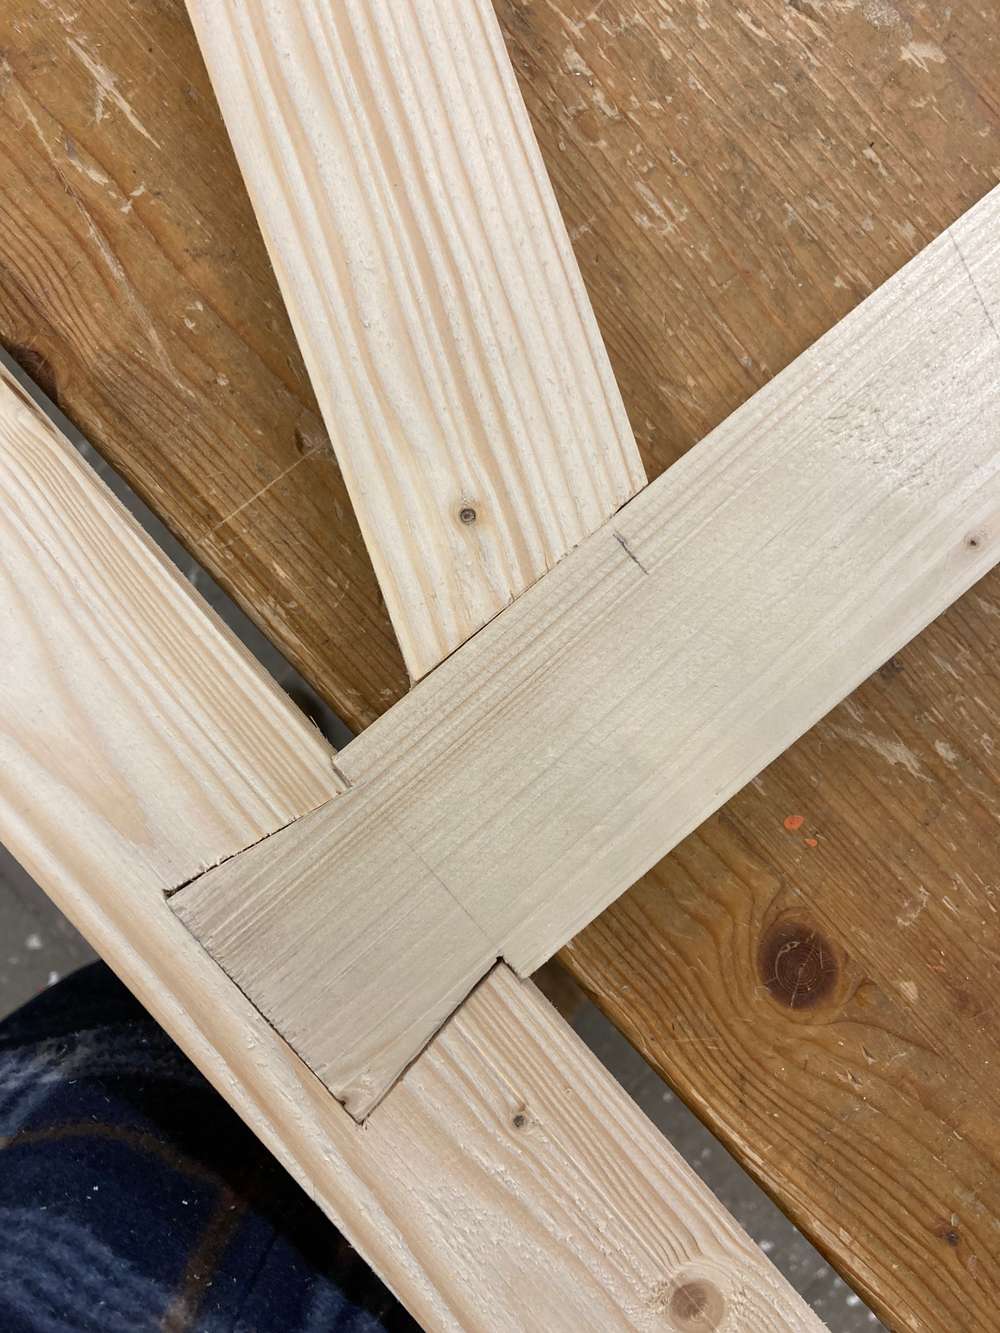
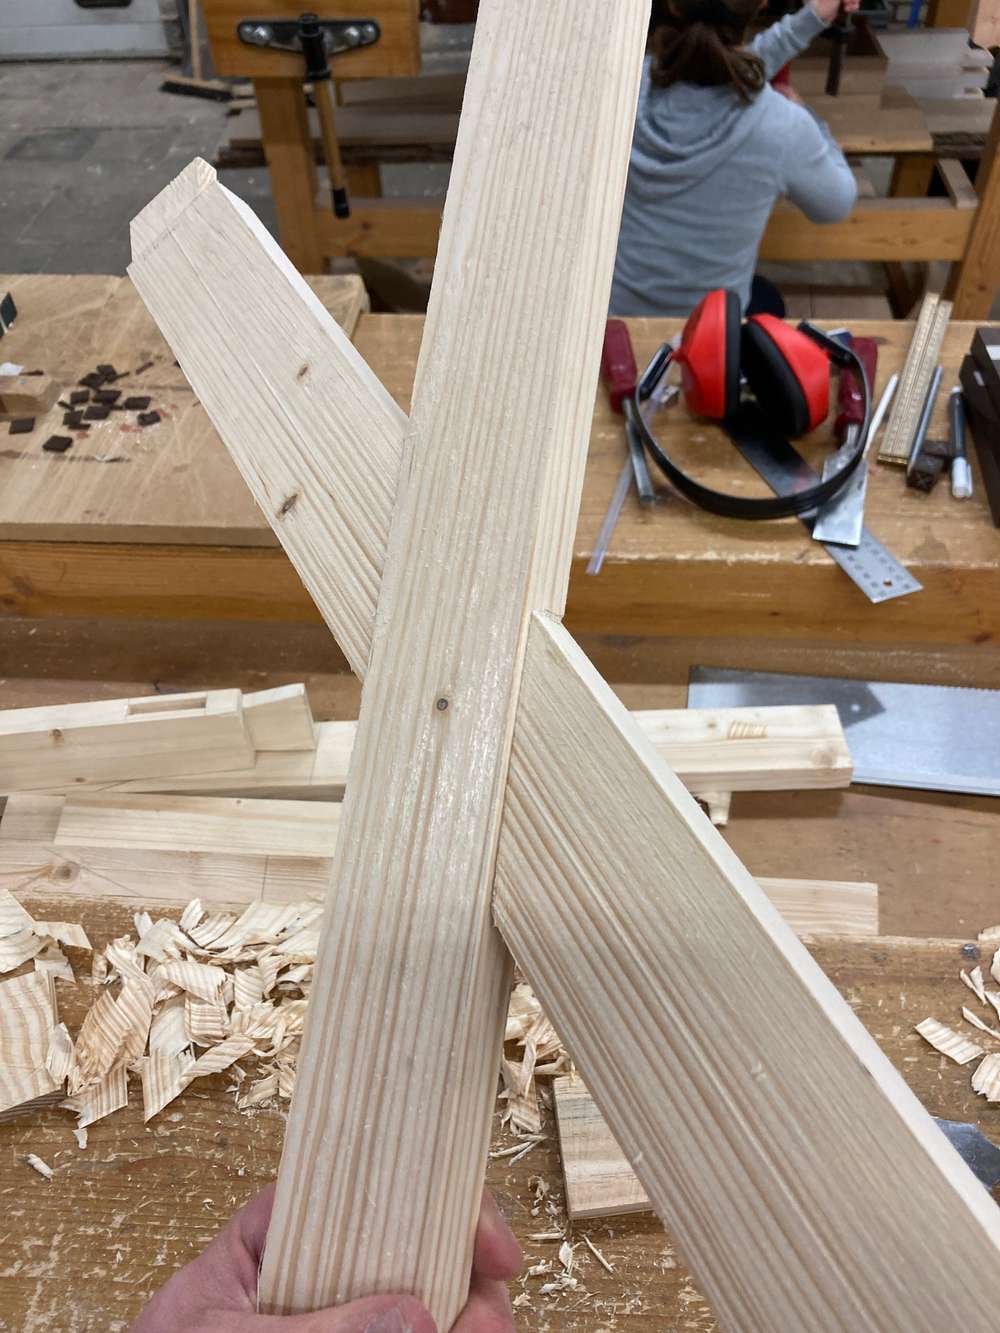
The trickiest part about the back frame is that there's a cross within. It forces your angles to be exactly square, giving you far smaller tolerances. It's placed within the frame with angled mortise and tenon joints.
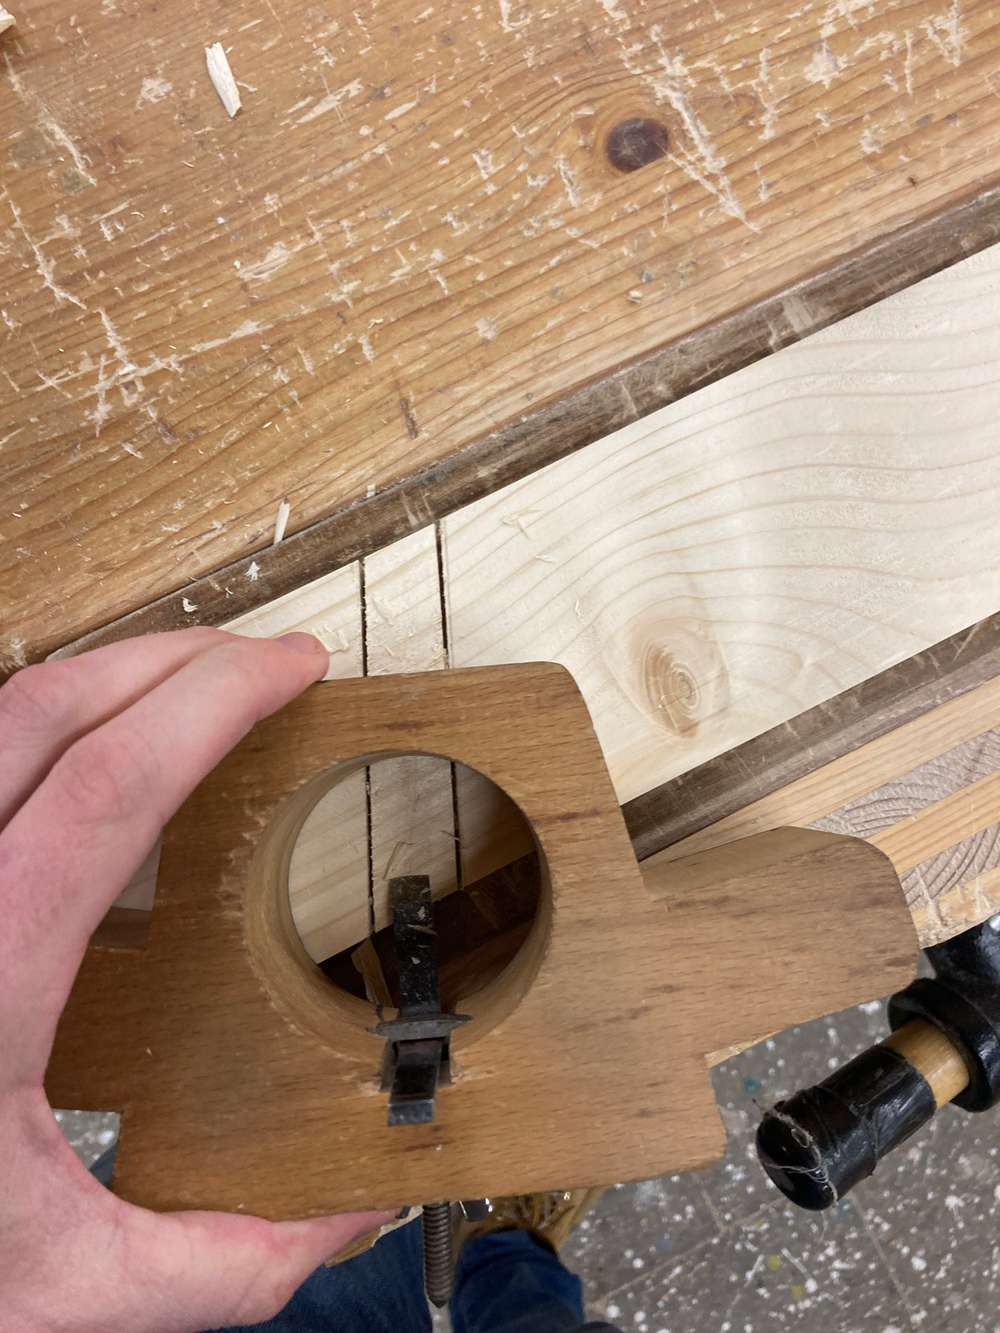
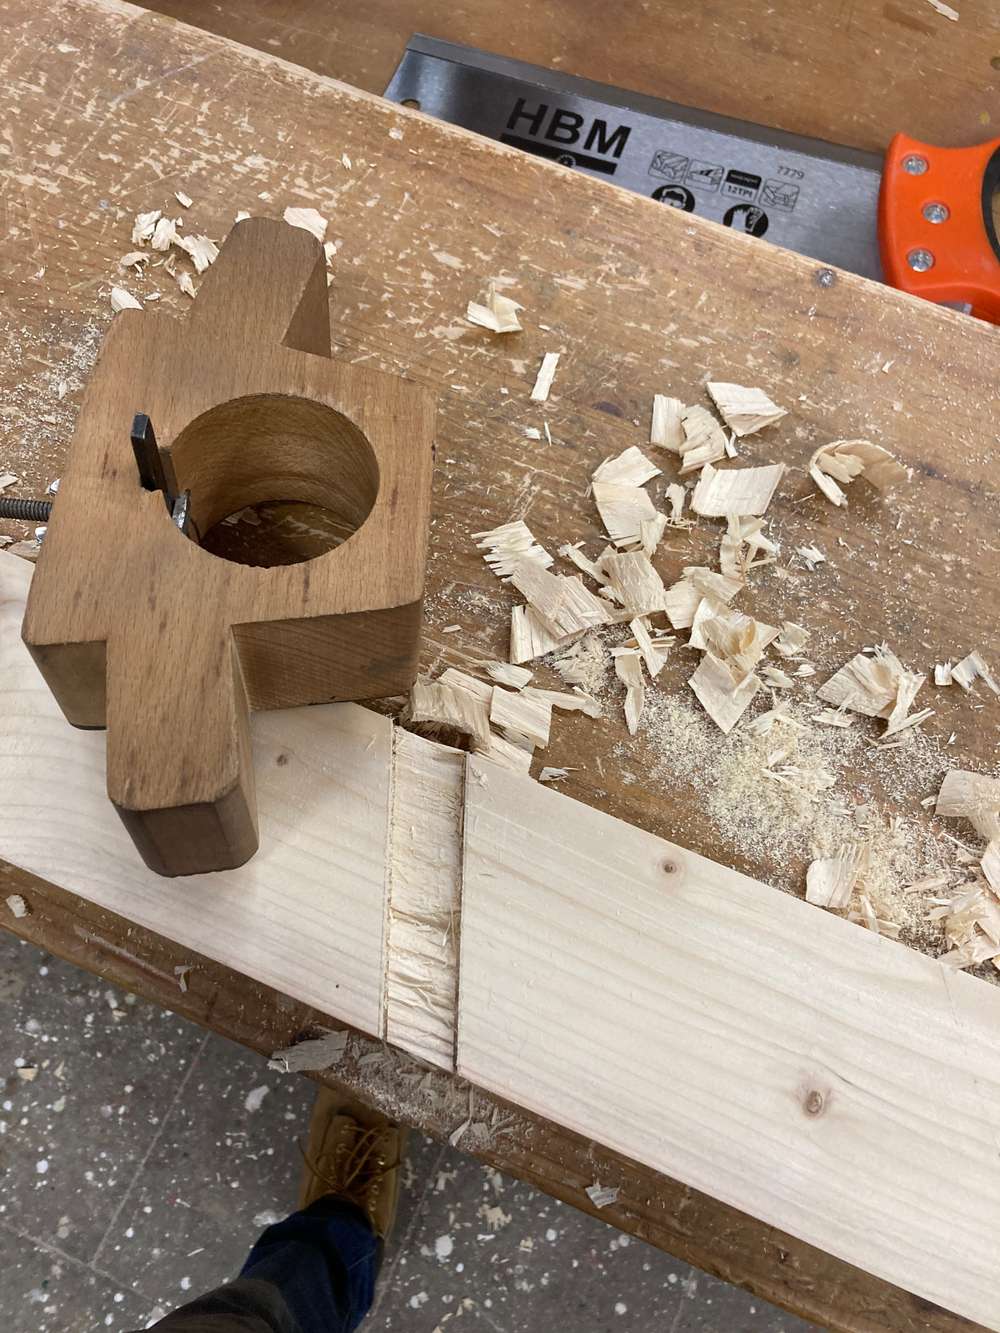
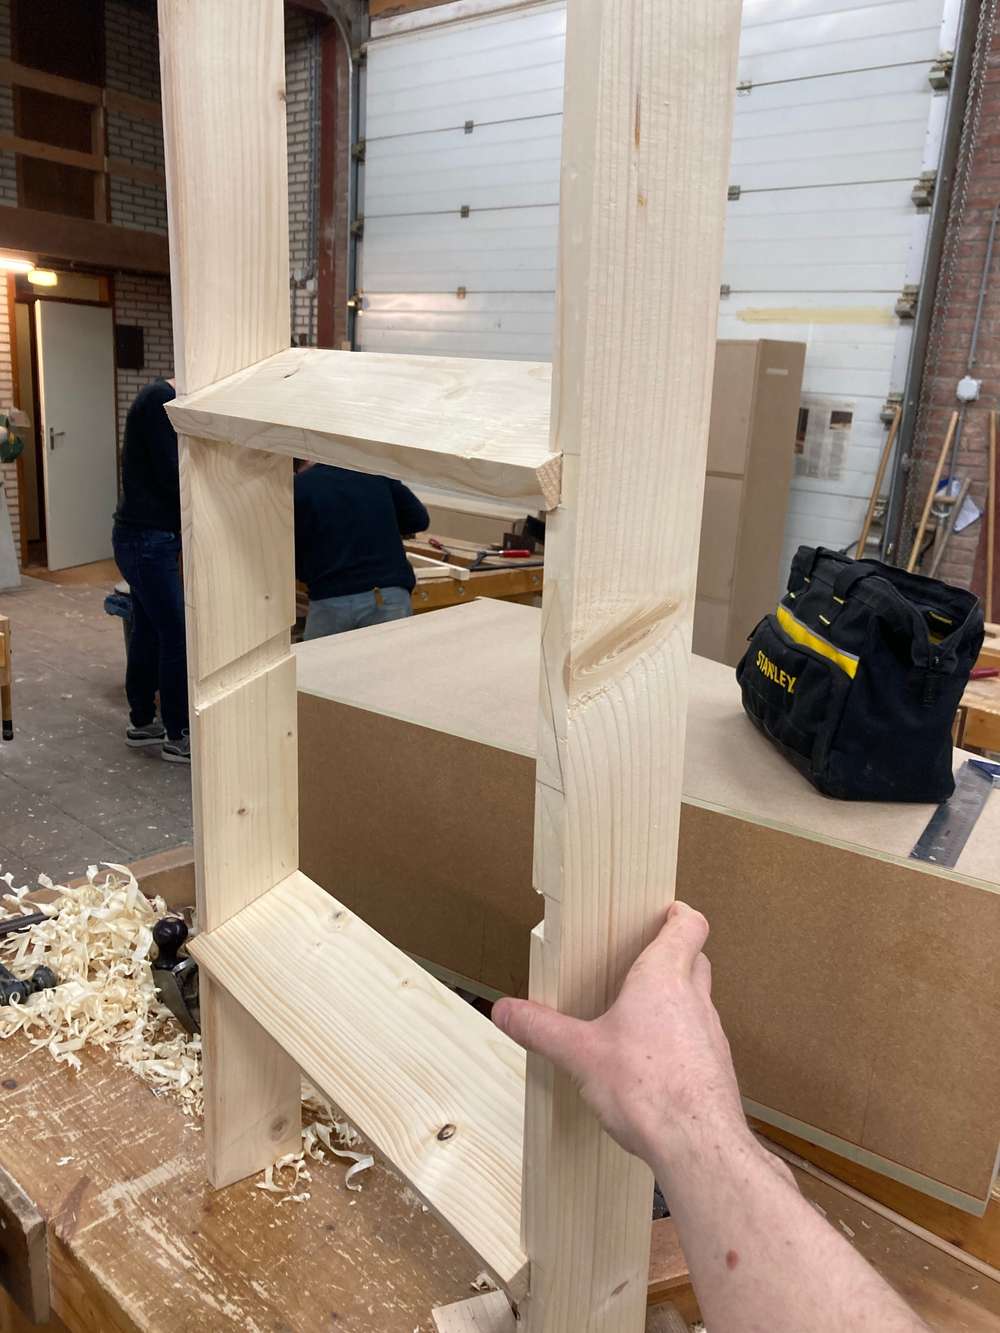
Next up was making the steps. First I cut and chisled out some dedos with a router plane. Really cool tool!
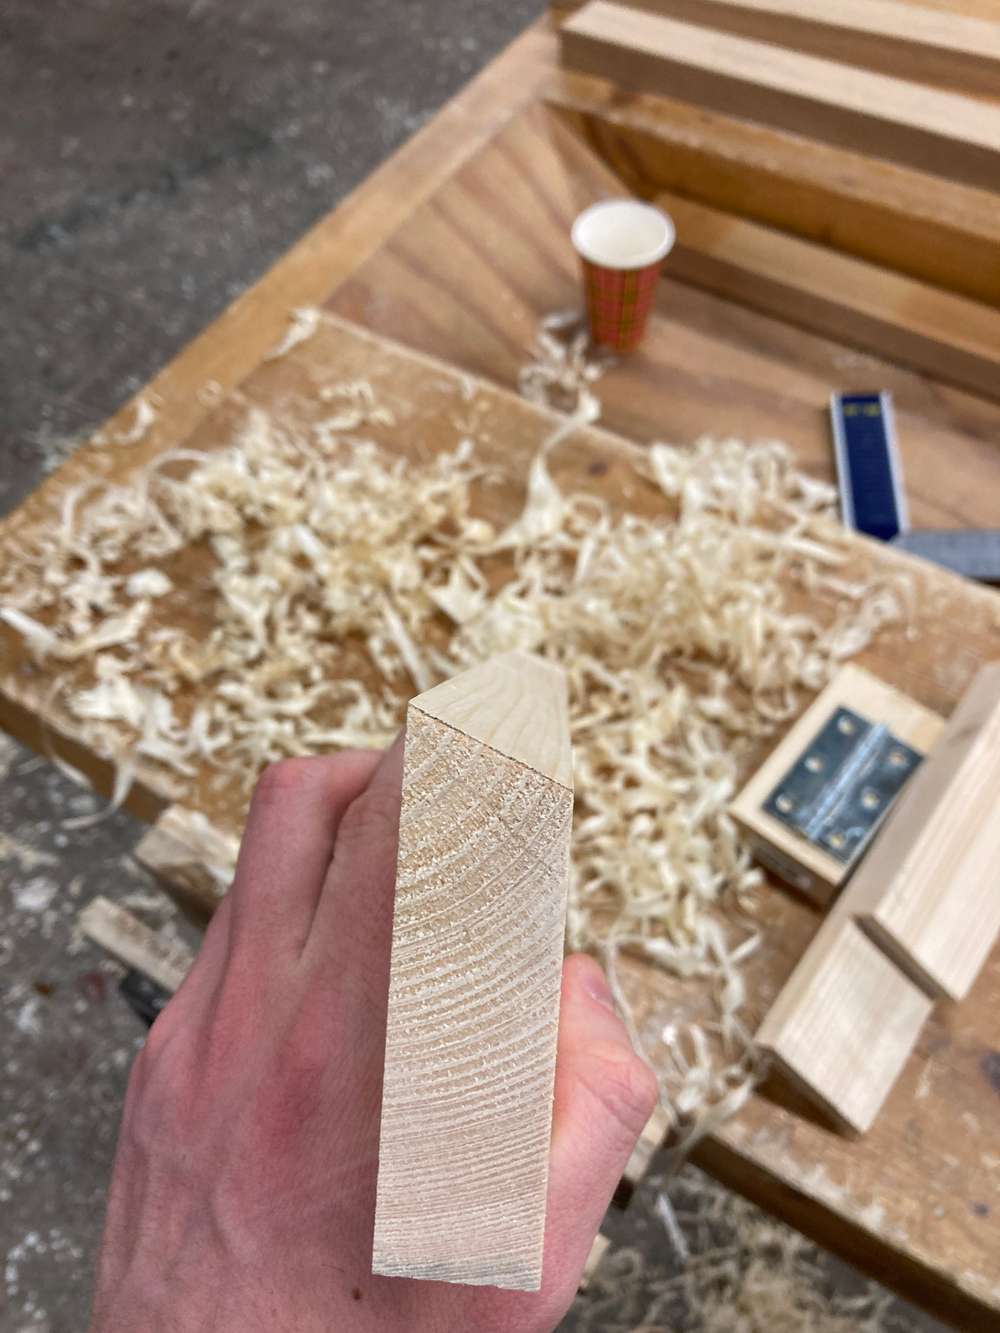
Then I made the steps. They are just planks with one edge planed in an angle so that they lay flush in the frame.
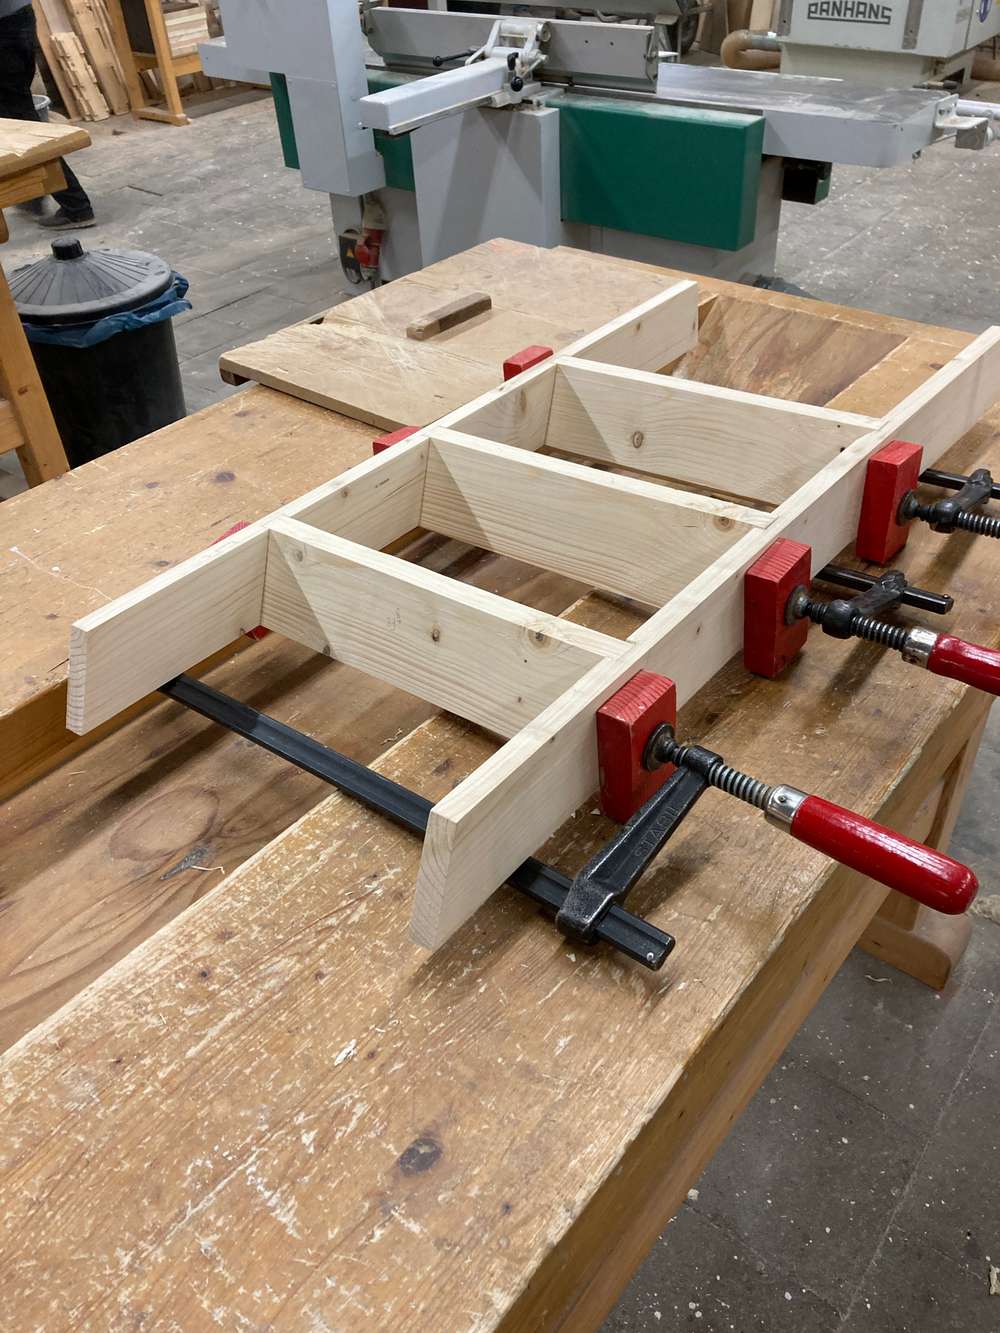
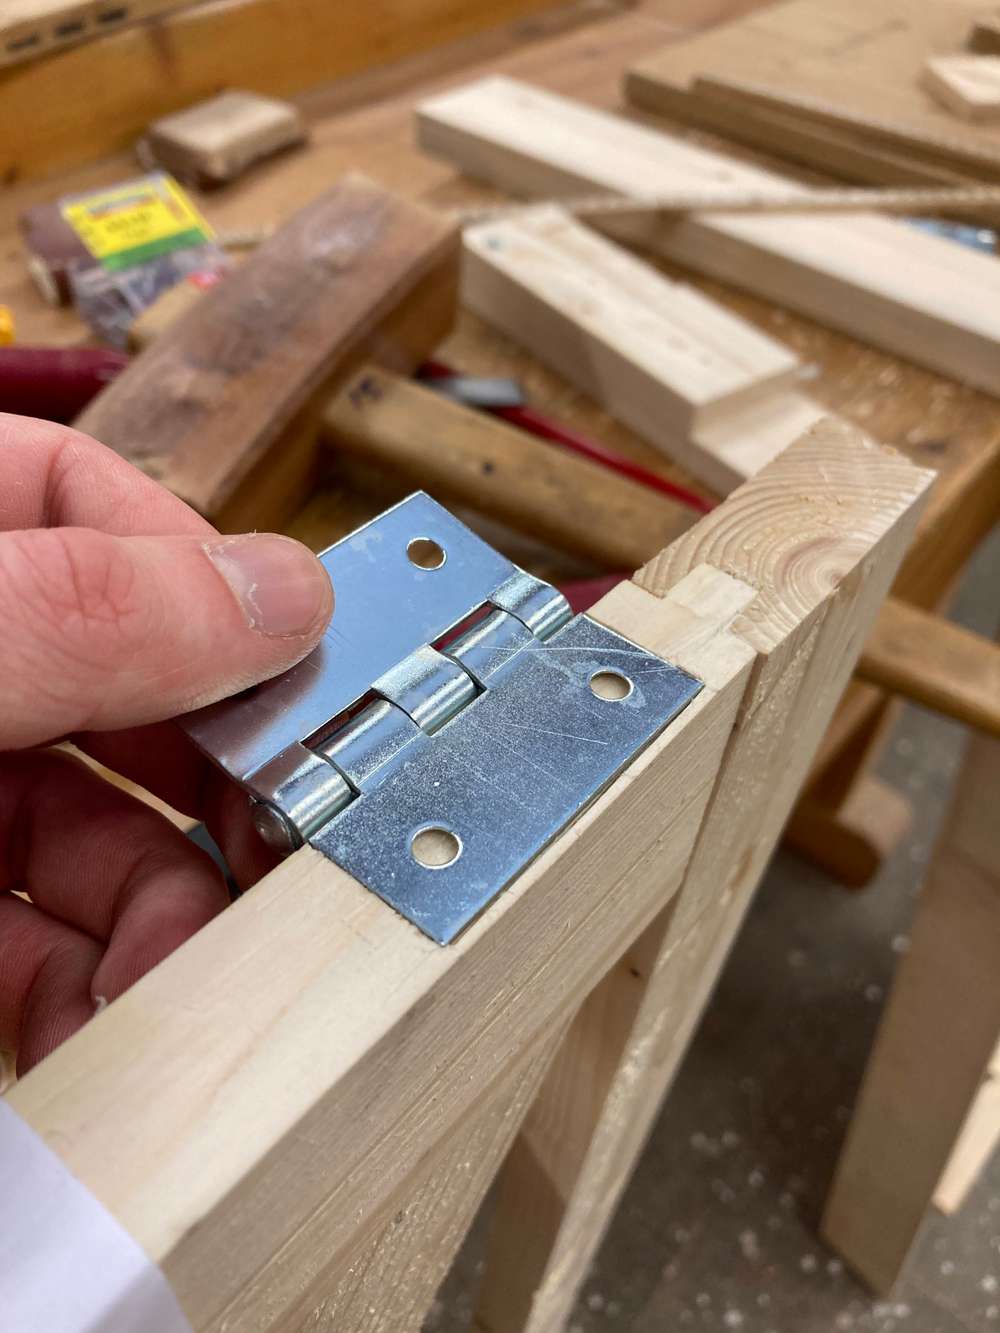
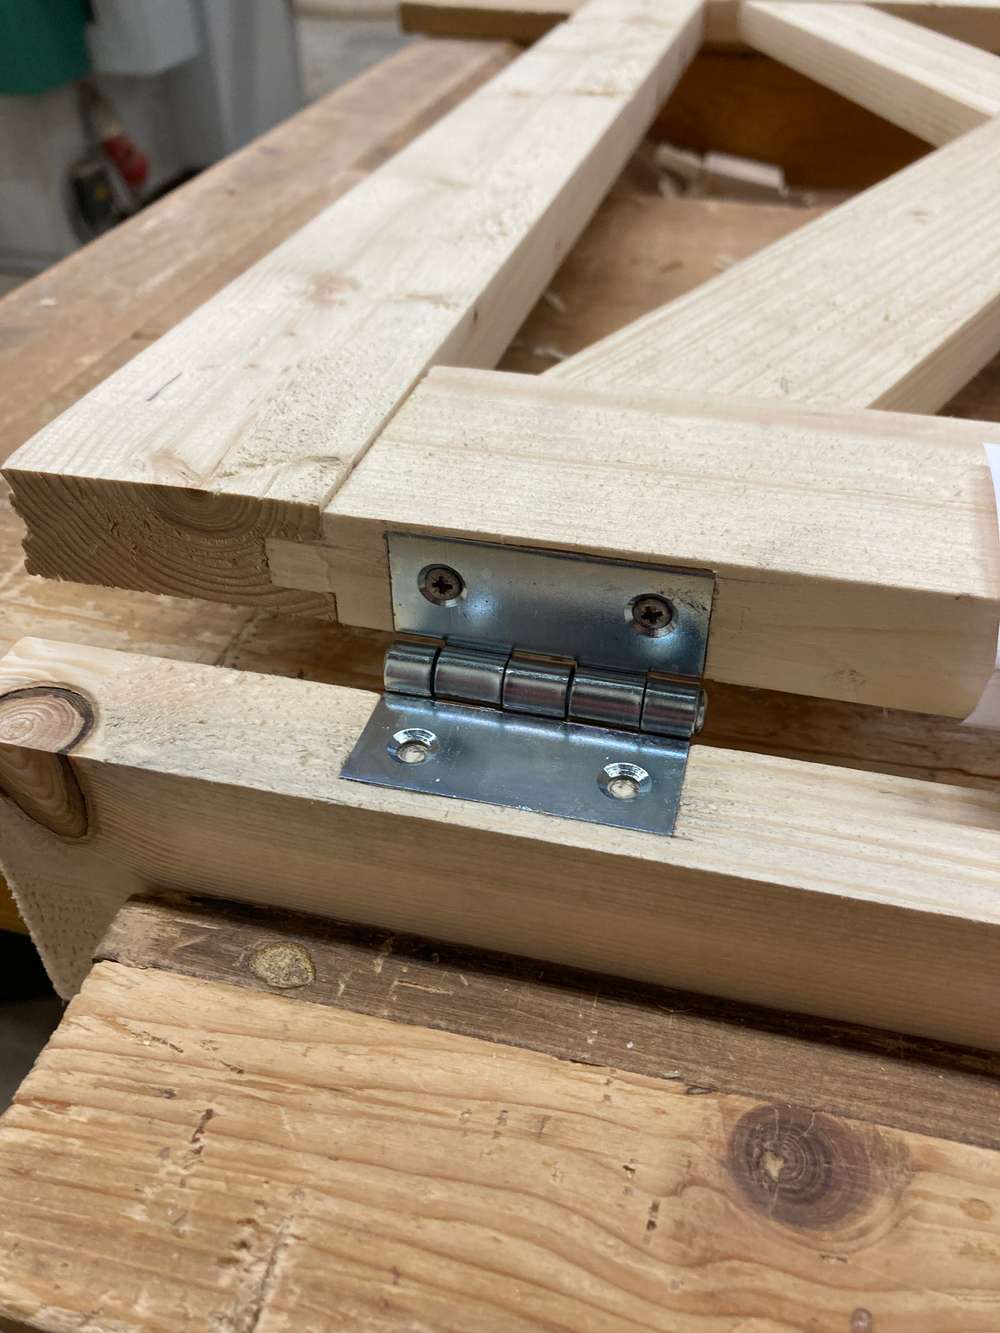
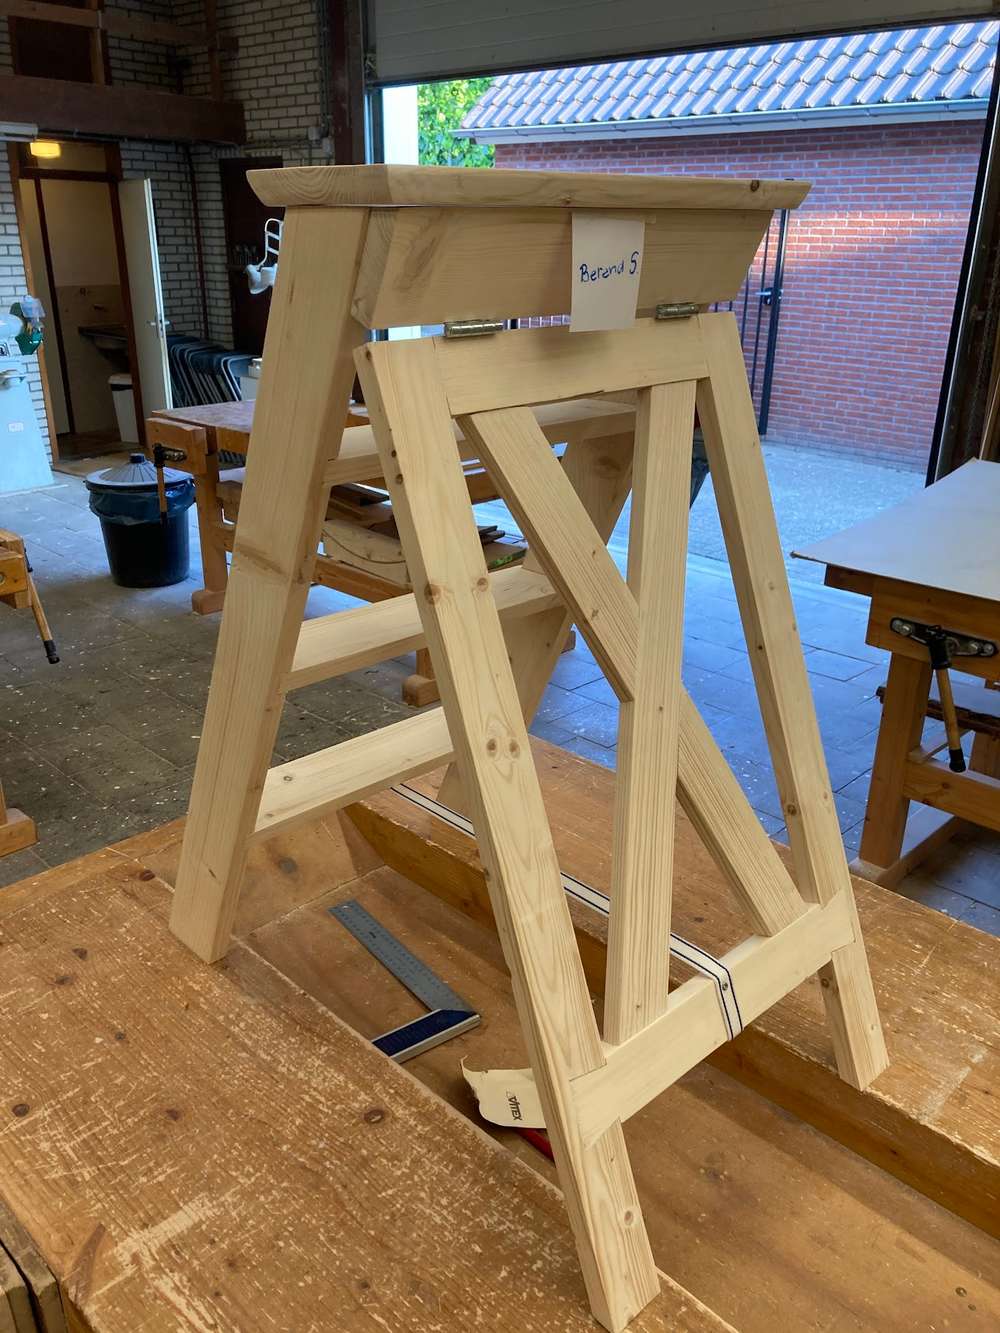
And finally the assembly phase. I chiseled out some room for hinges so they're flush.
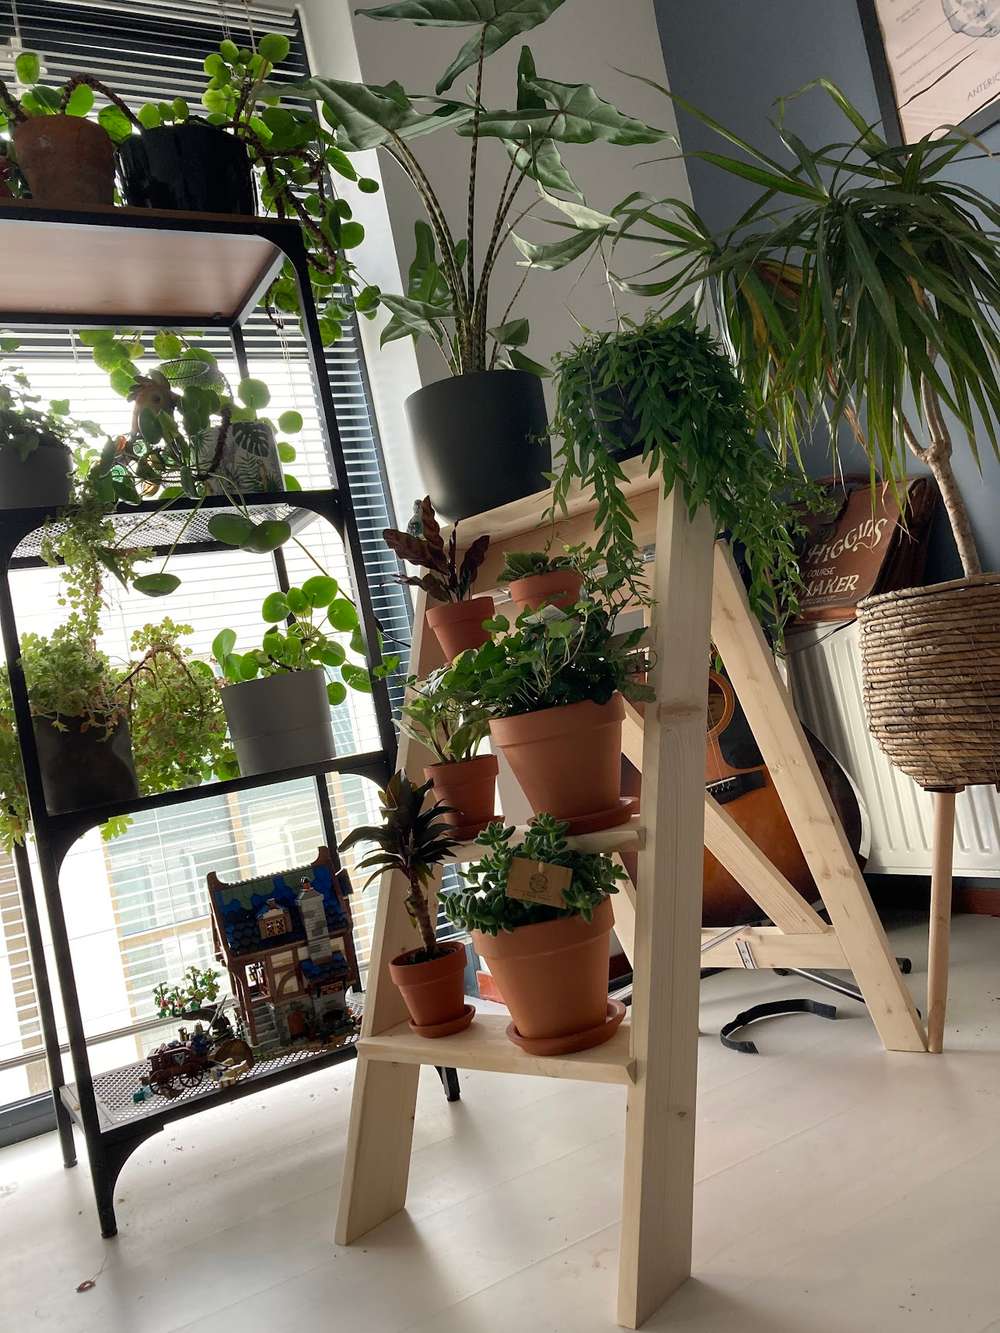
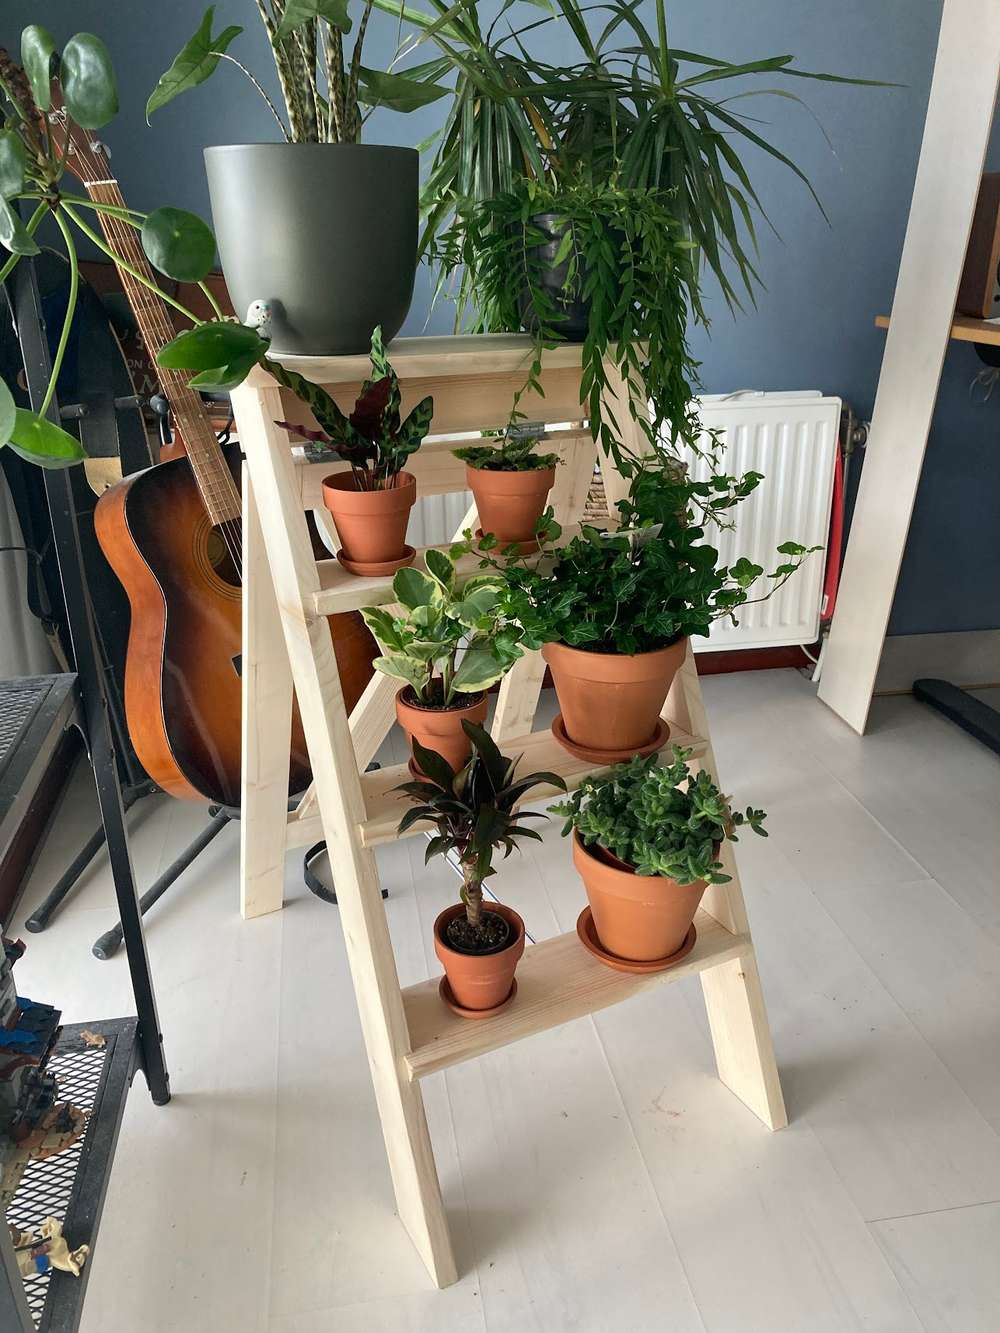
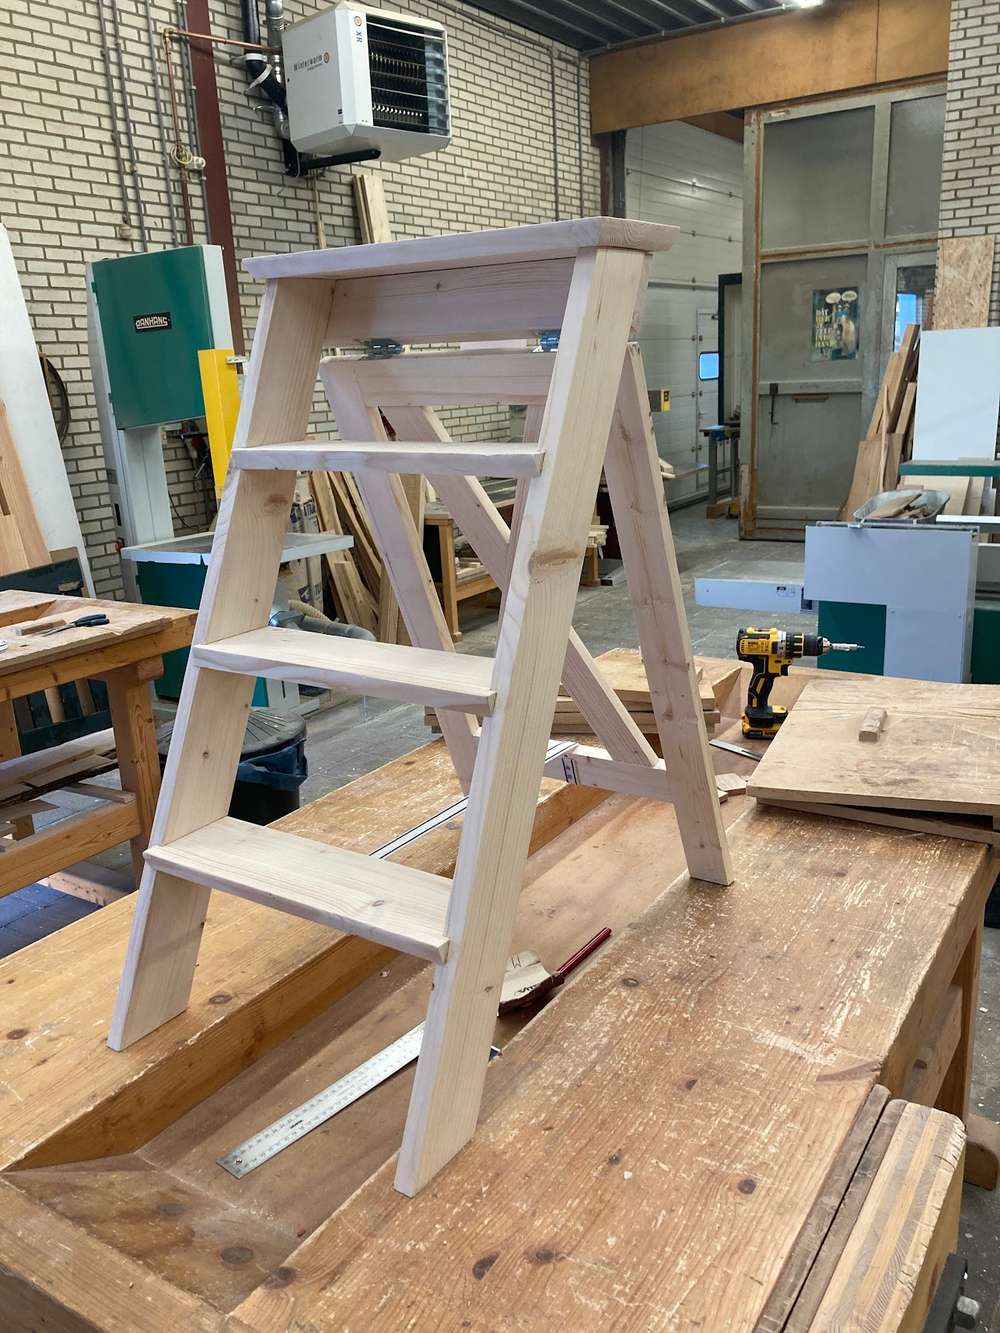
All done!
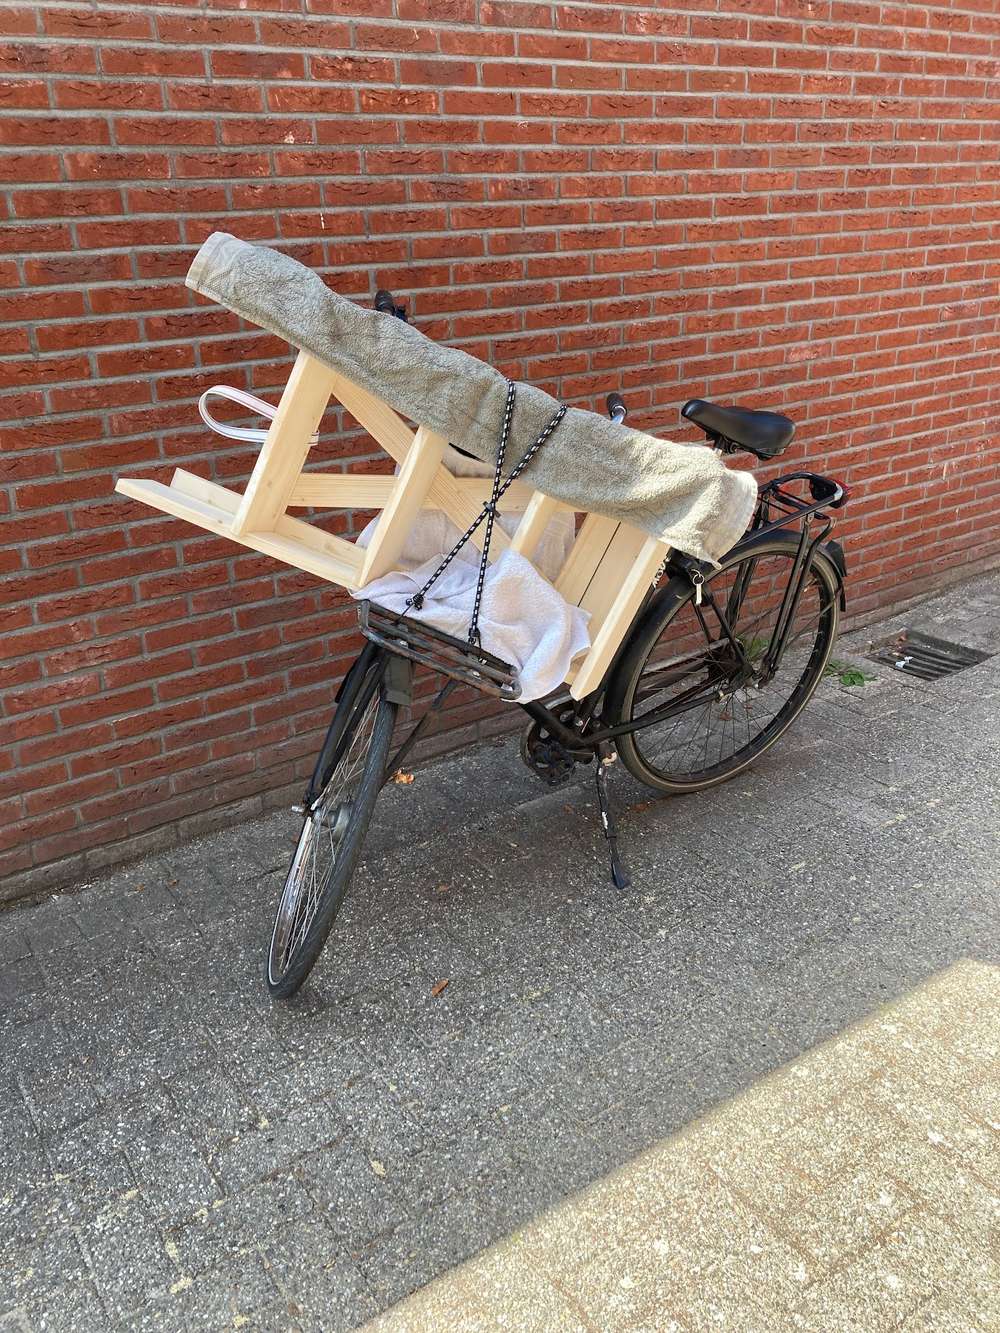
Taking it home on Joost's bike
Multi-level plant action in my living room.