Pen plotting on a budget
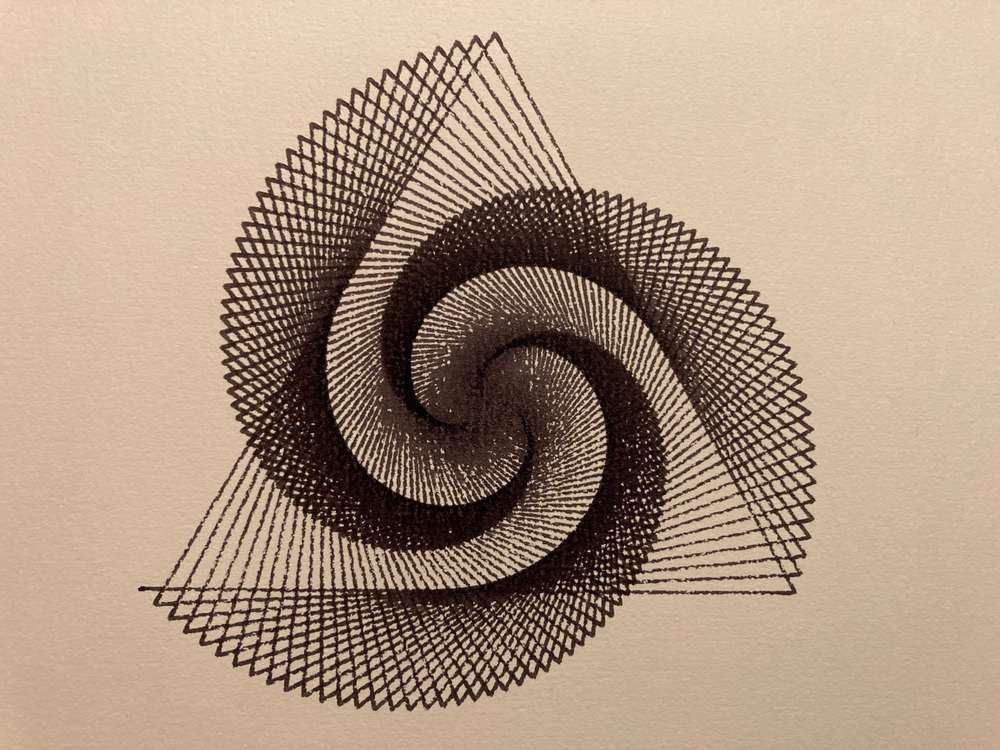
My current workflow
I have a frontend written in Vue.js. It loads dynamically loads different .js files that all have a 'draw' method and some relevant settings. The 'draw' method outputs an SVG string, the Vue frontend renders it and makes the settings reactive. My frontend also contains a 'print' button. After clicking that, the following things happen:
- The frontend sends the generated SVG to a backend
- The backend (written in Bun) saves the SVG
- The backend converts the SVG to gcode using the vpype CLI
- The backend uploads the gcode to my Raspberry Pi that runs Octopi
- The Raspberry Pi is hooked up to my Ender 3 printer and plots the drawing
How I got here
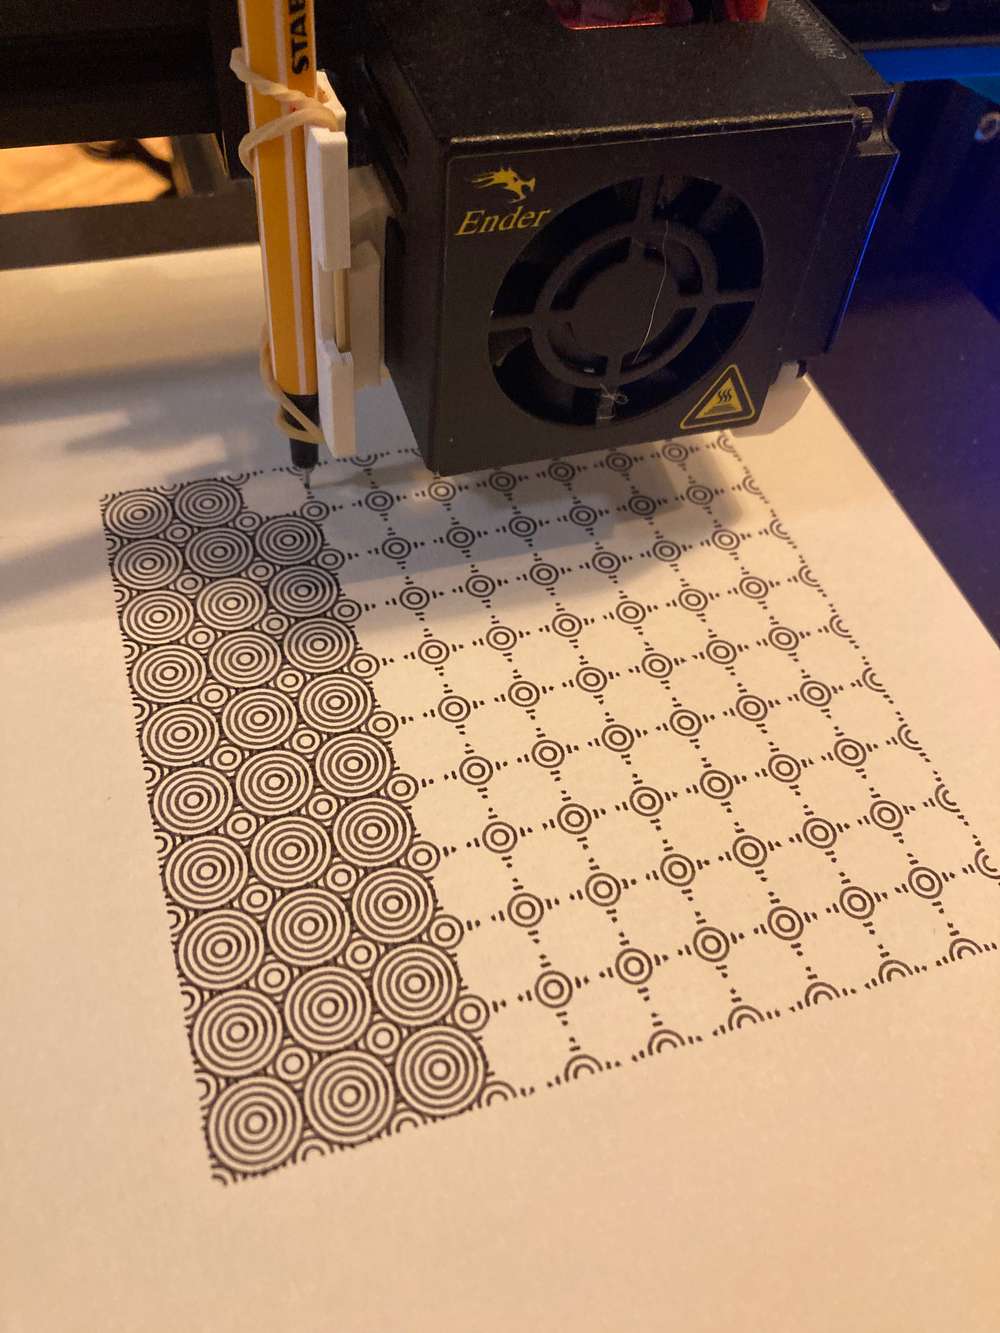
Inspired by this post by Adam Fuhrer I wanted to get into pen plotting as well. I challenged myself to not buy anything that ends up on a landfill eventually, so I didn't take the easy route of just buying a plotter. Instead, I re-used my 3d printer. The obvious first step is to print a pen holder that attaches to the extruder of my printer. Something like this:
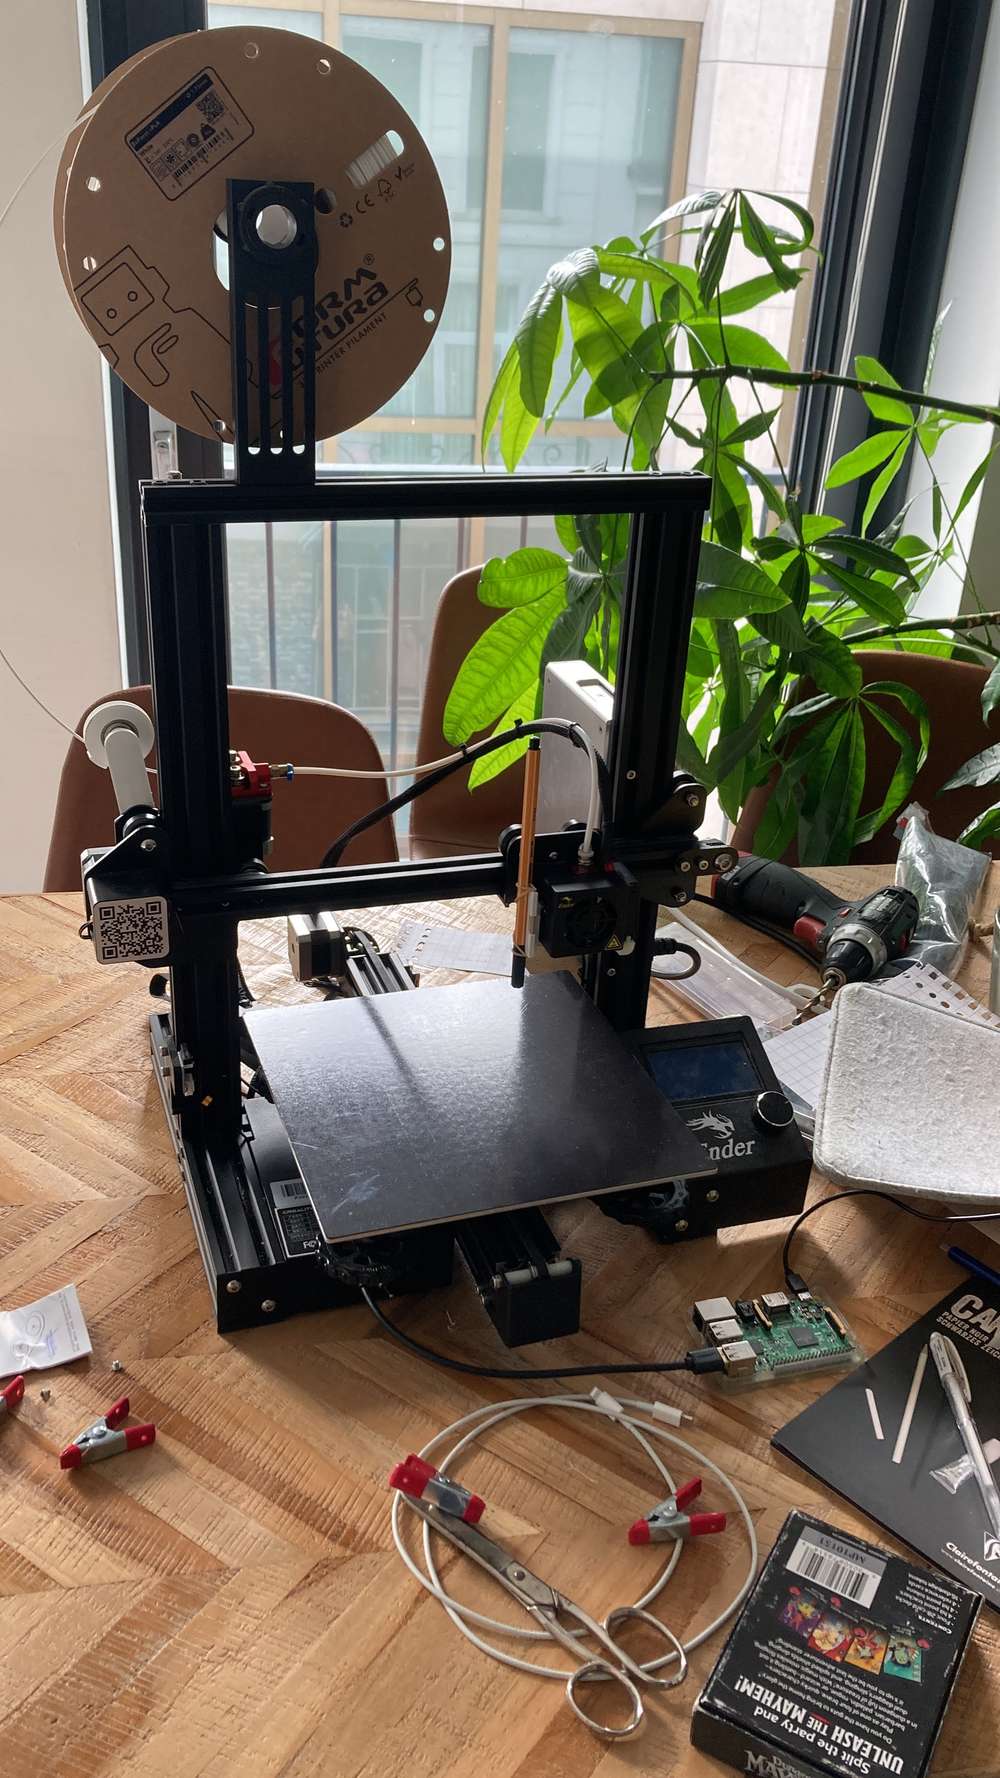
Note how the rubber bands allow the pen to travel a bit on the Z-axis. This makes leveling the bed a lot more forgiving.
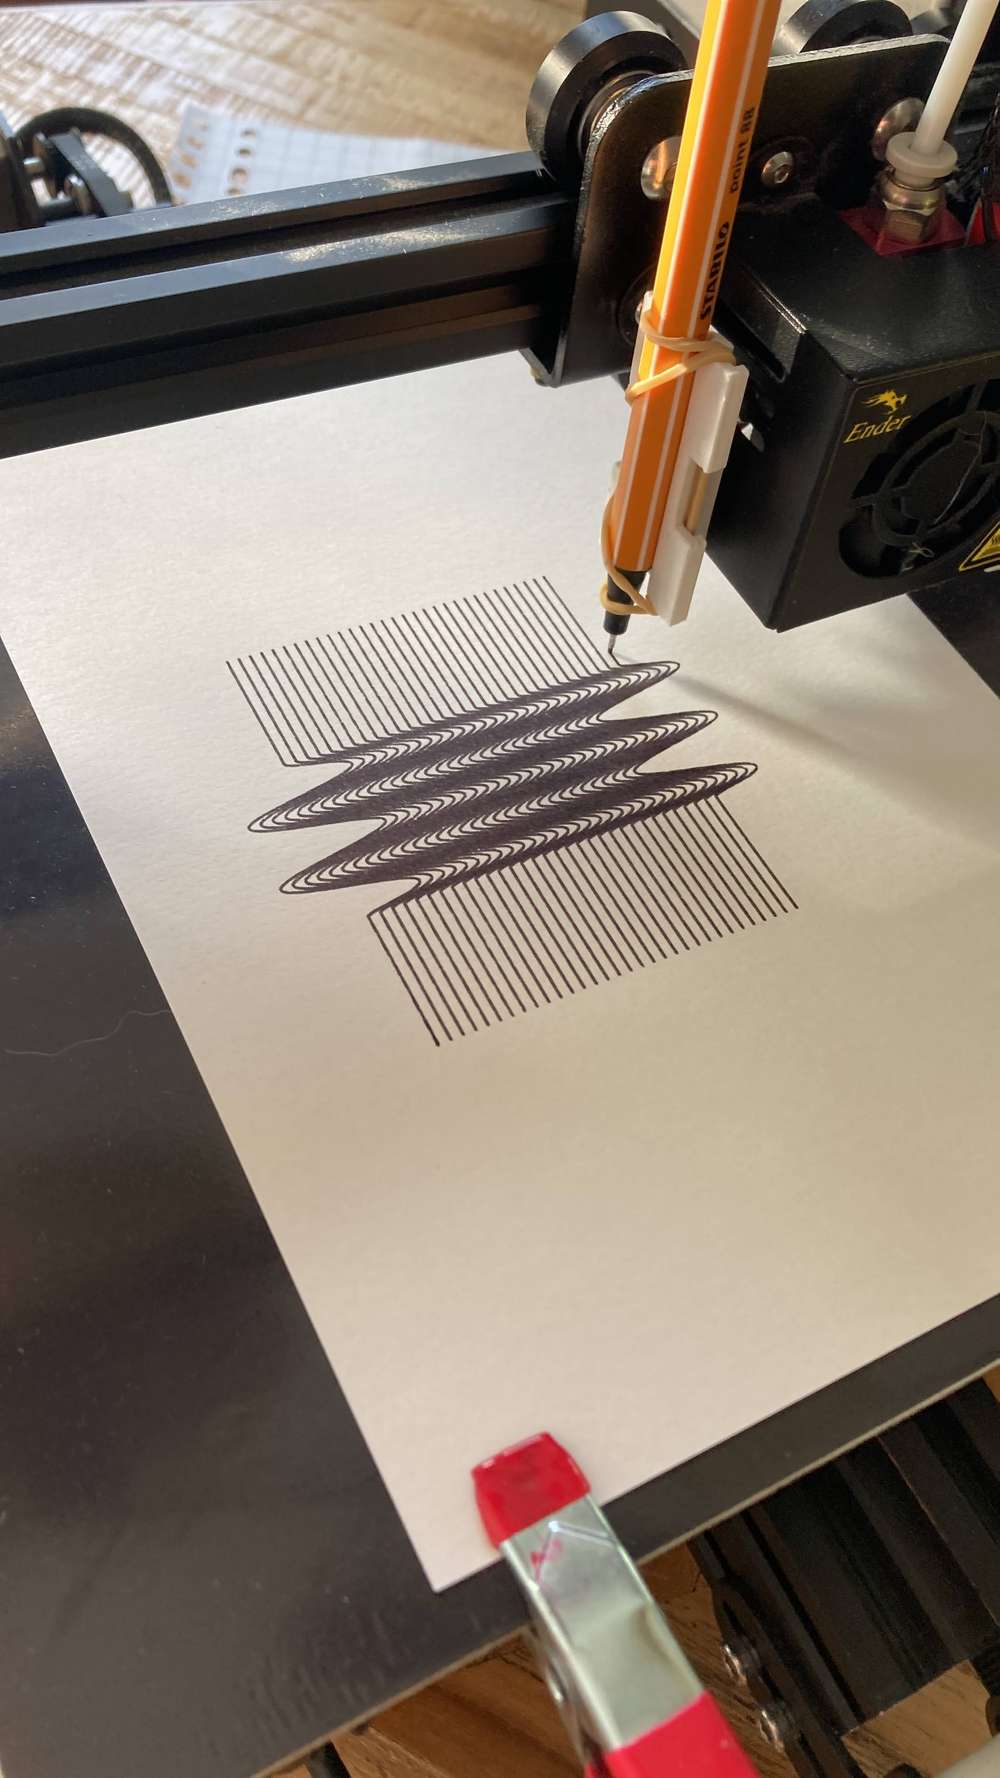
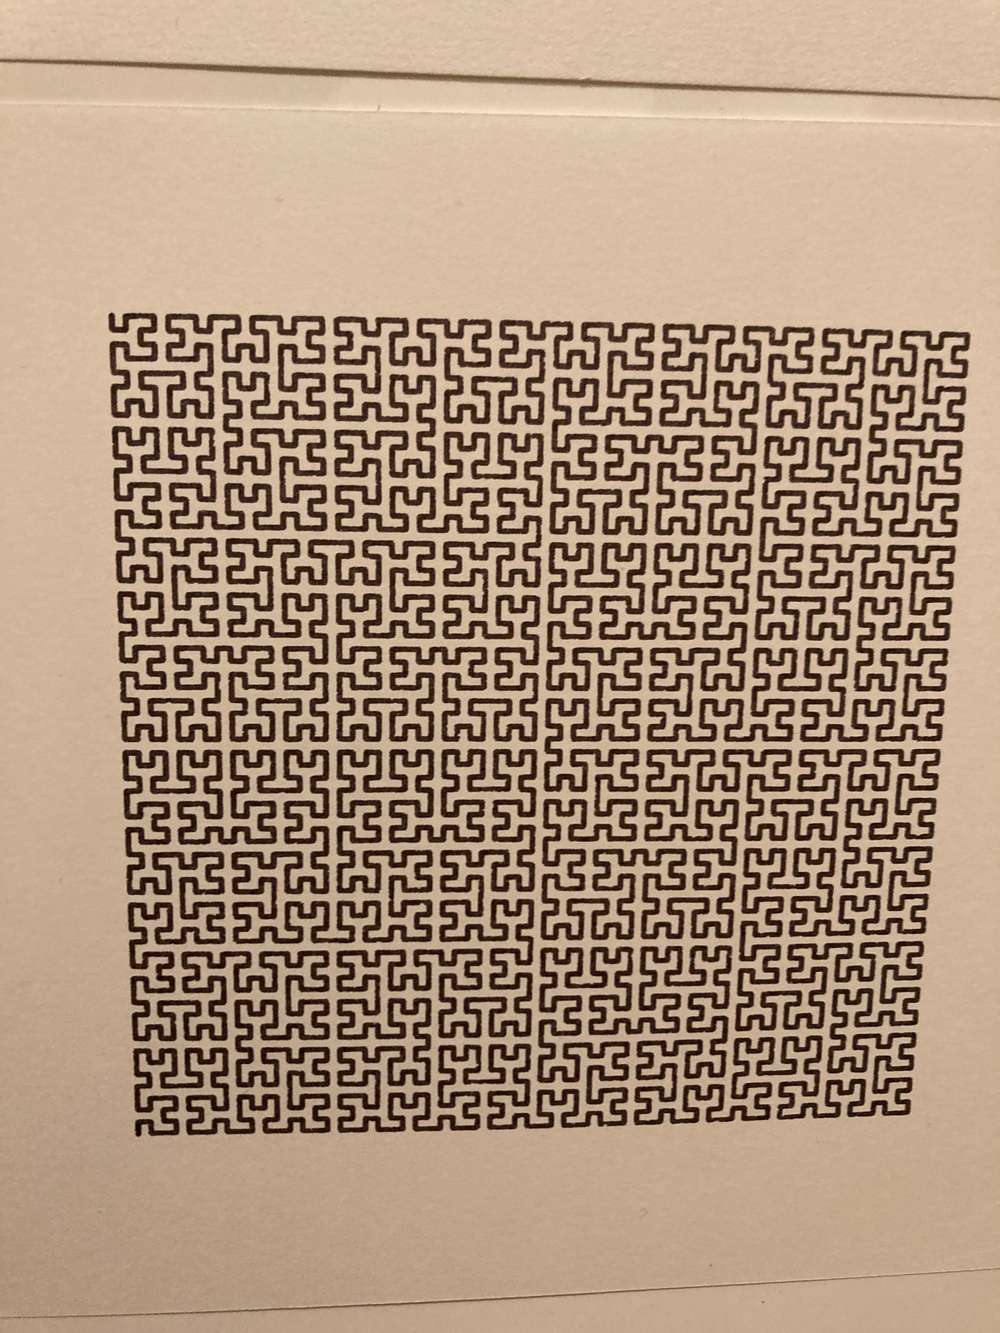
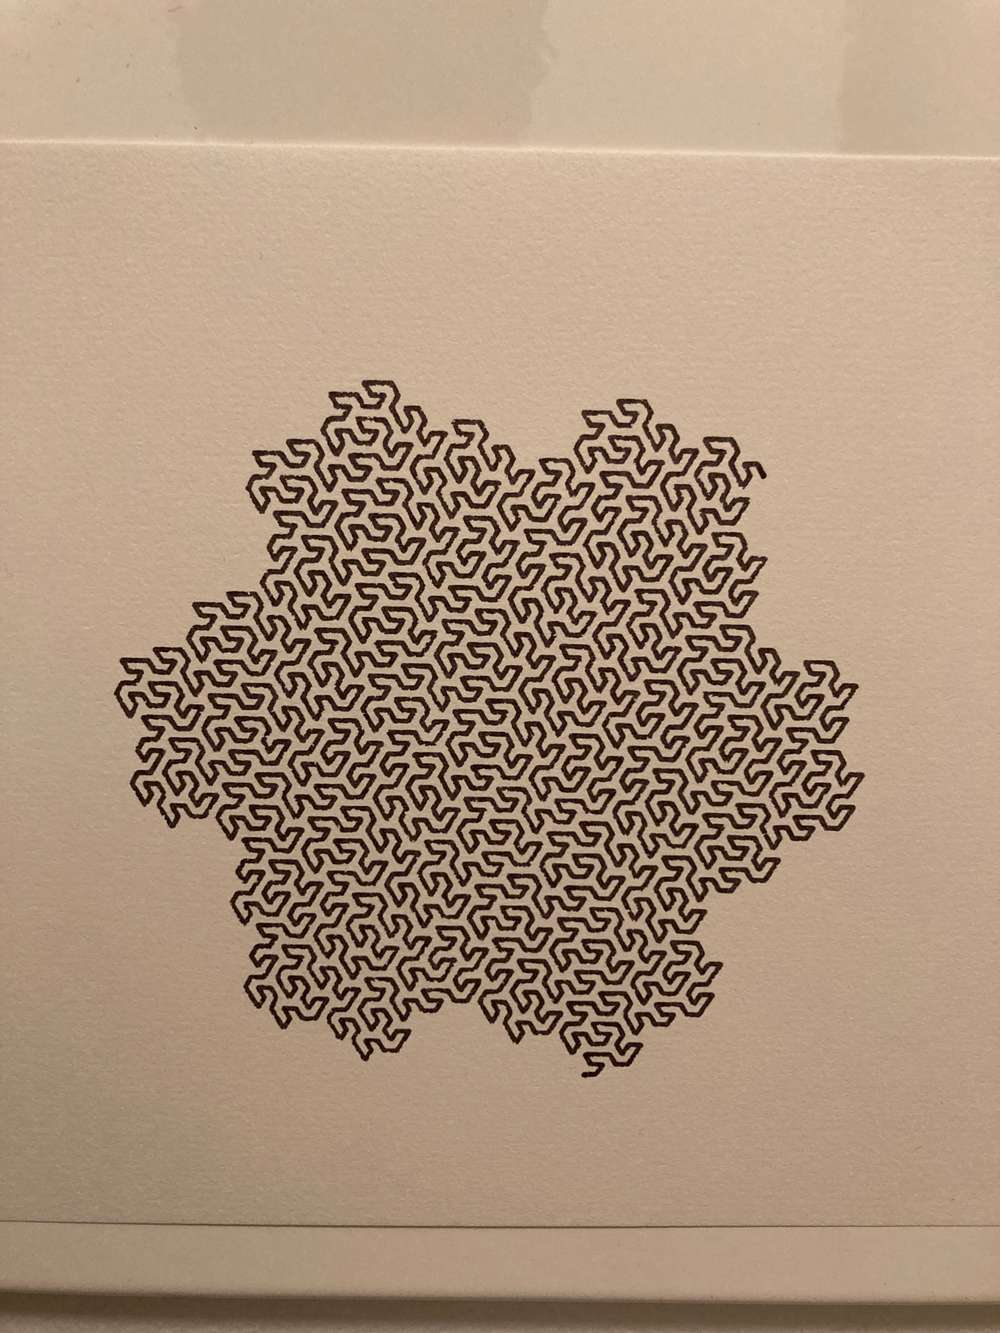
Next up, generate some cool art. Just like Adam I used P5.js first but it renders to a HTML5 canvas. You need some obscure third party lib to convert your drawing into SVG, which felt a bit too hacky for me. So I used D3.js to render a few SVGs to test with:
I wrote a script which uses OpenSCAD to transform my SVG into a very flat but definitely 3d .stl file:
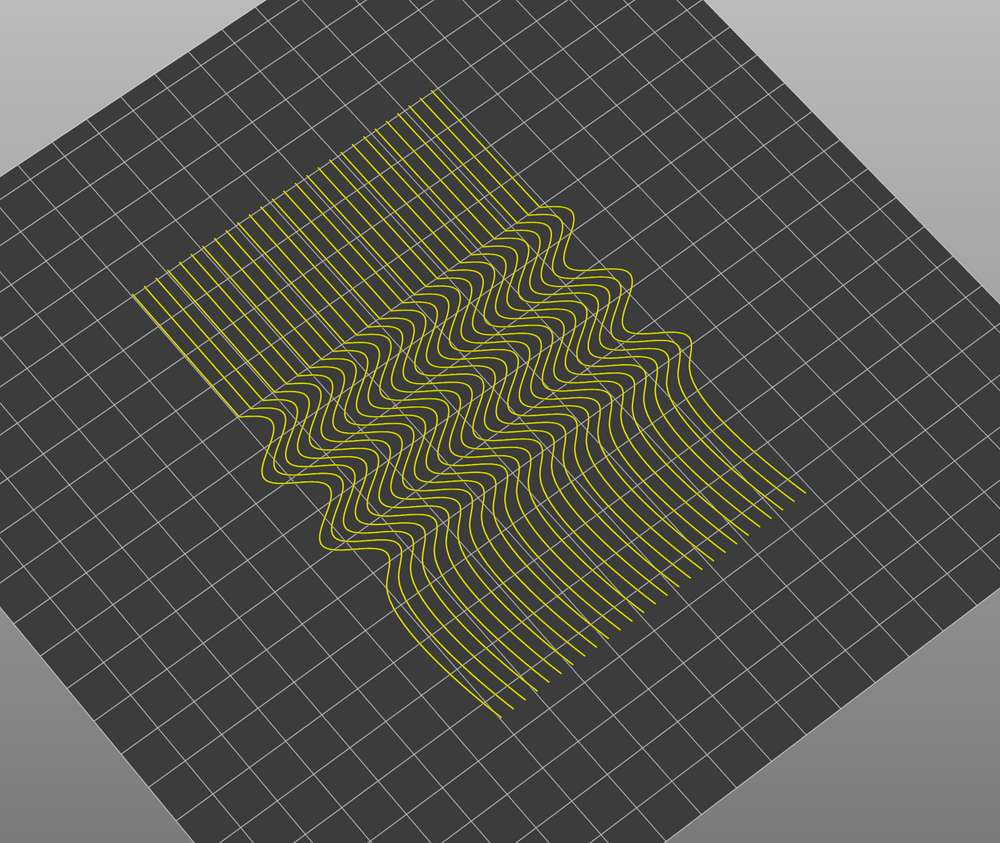
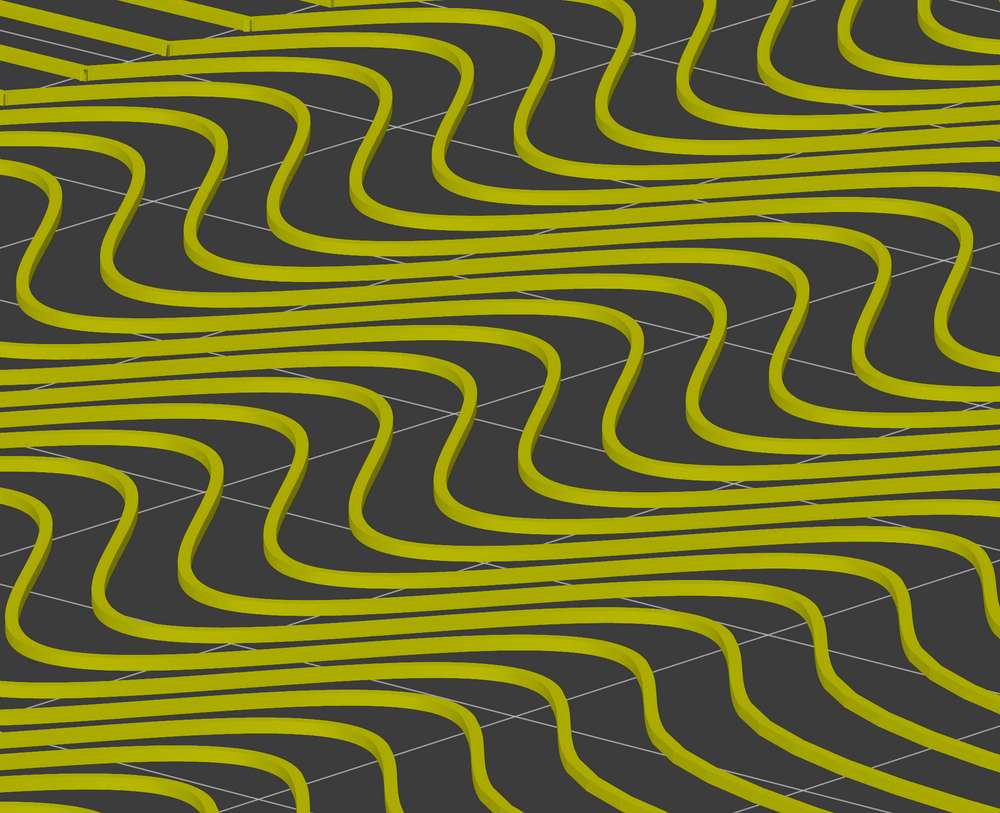
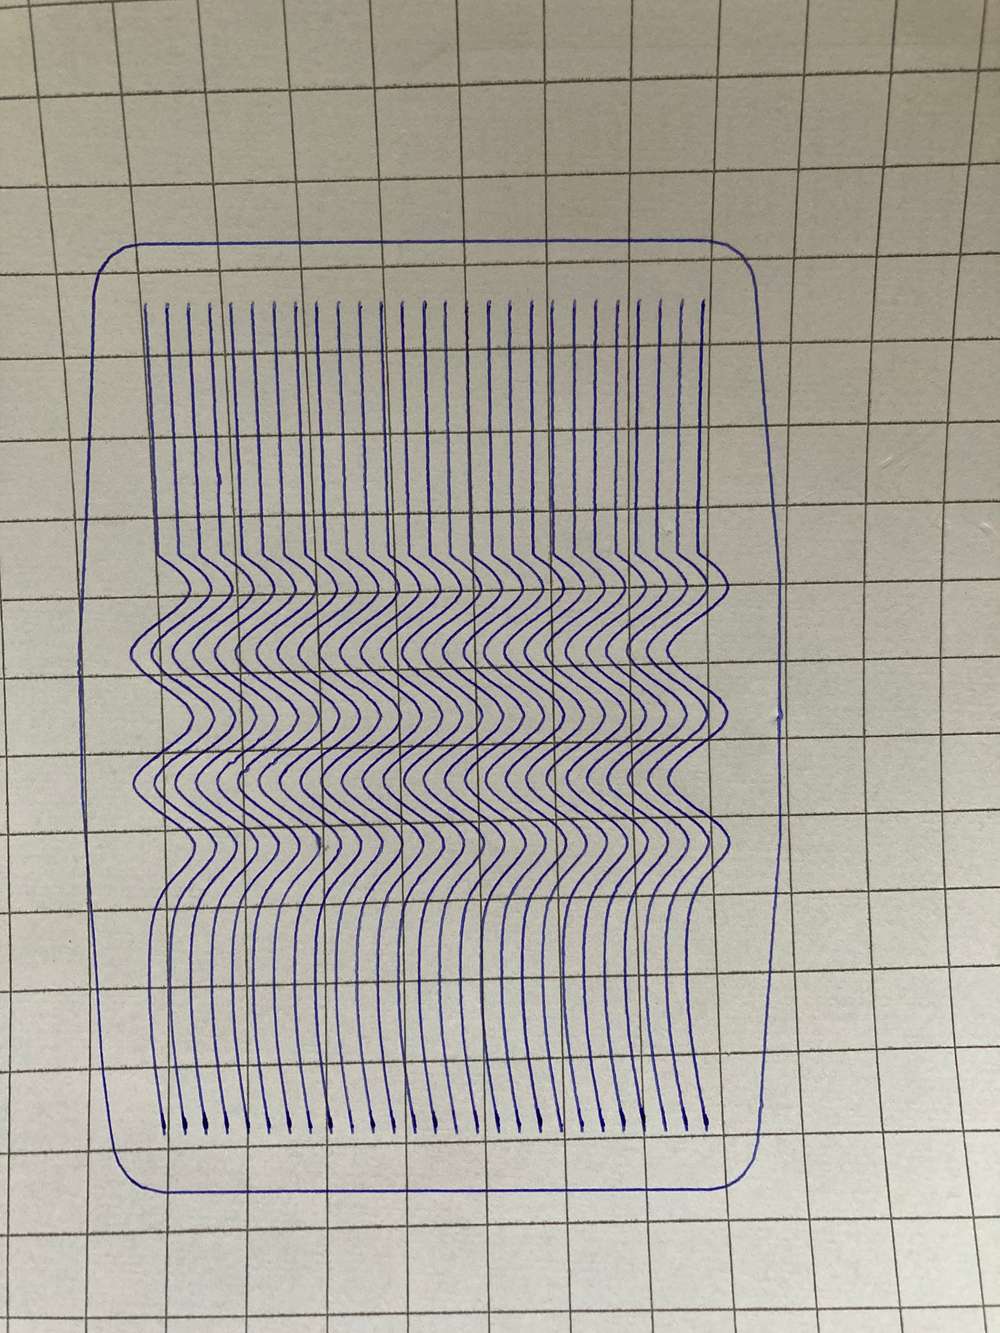
Then my script feeds the .stl into Prusaslicer with a profile that doesn't heat my printers bed or hotend. The result is a .gcode file that my printer understands. It definitely feels hacky but for my first experiment it worked beautifully:
